How to Prepare Bees for Pollination Contracts
Successful pollination work depends on strong, healthy, queenright colonies delivered at the right time, backed by clear communication and good records. A grower is paying for reliable flower visits, not for weak colonies, late arrivals or unresolved disease problems.
For UK beekeepers, preparation means more than simply moving hives to a crop. You need to assess colony strength, manage varroa and disease risk, agree pesticide notification arrangements, check access and transport, and keep a traceable record of every hive involved. Bee Hive Tracker can be useful here because pollination work depends on accurate hive IDs, inspection notes, treatment records, movement dates and contract details.
Decide whether pollination work suits your beekeeping operation
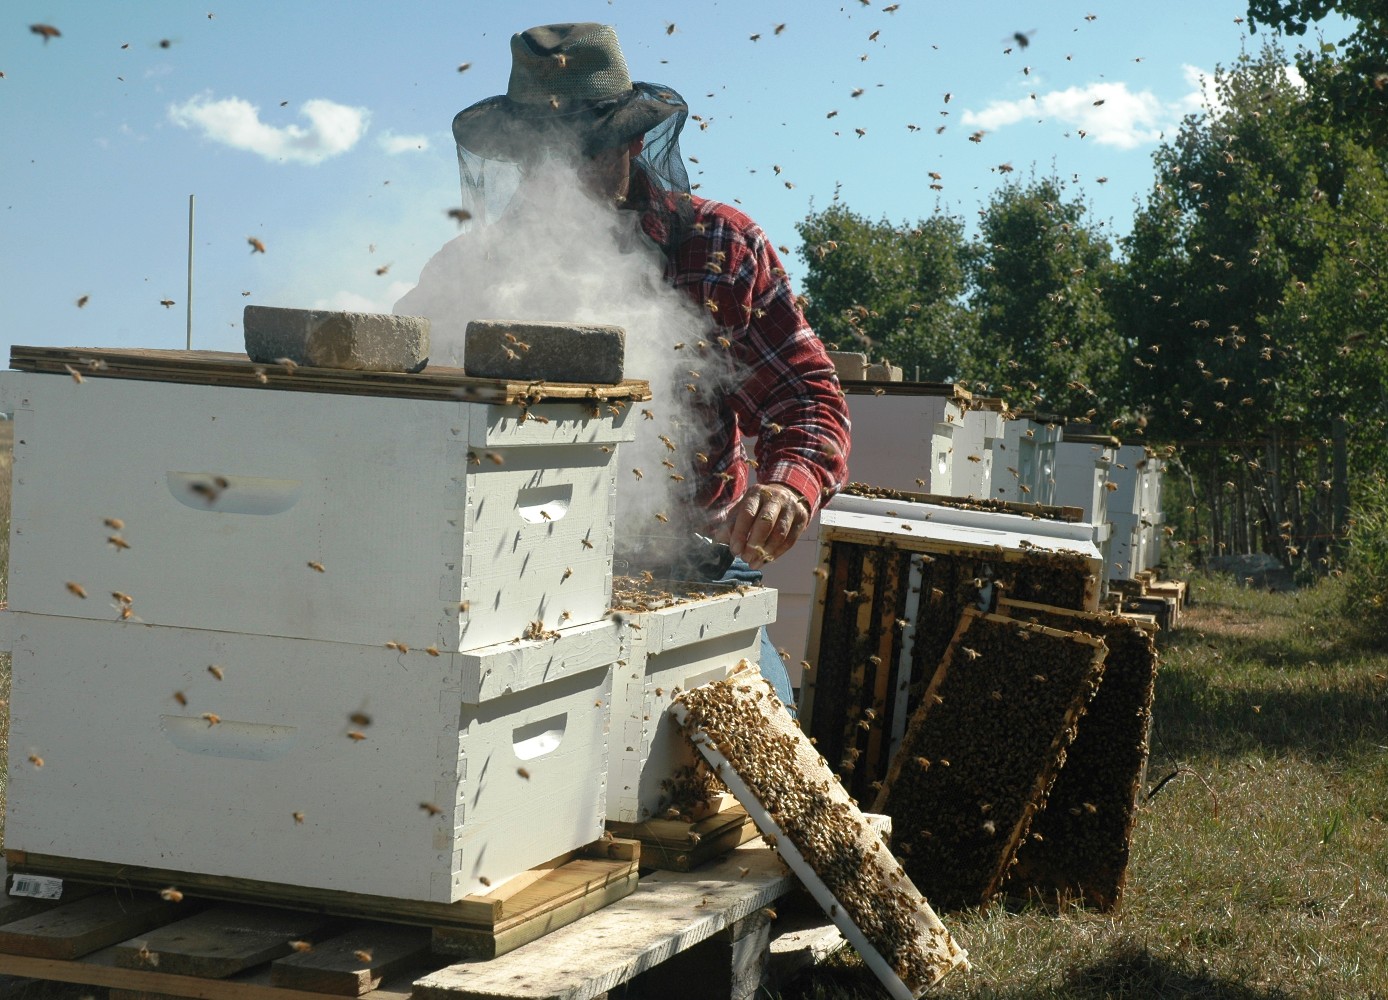
Pollination contracts can be rewarding, but they add pressure at the busiest time of the beekeeping year. Before agreeing to supply hives, be realistic about your capacity.
Consider:
- Colony numbers: can you supply the required hives without weakening your own apiaries?
- Timing: crop bloom is weather-dependent and may shift quickly, especially in spring.
- Labour: moving hives safely often requires help, late evenings or early mornings, and rapid availability.
- Transport: your vehicle must be suitable and legal for the loaded weight.
- Insurance: growers commonly ask for proof of public liability insurance. If you employ staff, you must also consider employer’s liability.
- Biosecurity: moving colonies increases the consequences of poor disease control.
- Paperwork: growers may ask for evidence of disease checks, treatment records and clear contact arrangements.
If you cannot meet the timing, provide strong colonies, or respond quickly to problems, it is better to decline than damage your reputation.
Match colony strength to the crop and flowering window
The key question is not simply “How many hives does the grower want?” but “Are these colonies strong enough to pollinate the crop when it flowers?”
A pollination colony should be:
- Queenright
- Expanding or stable in brood
- Well covered with adult bees
- Free from visible signs of notifiable disease
- Below your varroa treatment threshold
- Calm enough to work safely near farm staff
- Adequately supplied with stores
Practical colony strength targets
Exact requirements vary by crop, weather, forage competition and grower expectations, but the following are useful working targets for UK conditions:
| Crop or situation | Practical colony target |
|---|---|
| Apple and pear blossom | Usually 6–8 brood frames well covered with bees, with a laying queen and expanding brood |
| Oilseed rape | Strong colonies are important; often 6–10 well-covered frames depending on field size, colony availability and competing forage |
| Soft fruit | Colonies must be active, calm and reliable; placement and timing may matter more than sheer numbers |
| Early spring contracts | Colonies need to have been built up well before bloom, with brood and foragers developing 4–8 weeks ahead |
These are practical targets, not guarantees. Always inspect the hive itself: bee coverage, brood pattern, stores, temperament and disease status matter more than a number on a contract.
Build colonies well before the move
Pollination preparation starts weeks, and sometimes months, before delivery.
Requeen poor colonies early
A poor queen is a poor investment for contract work. Replace queens that produce patchy brood, slow spring build-up or defensive colonies.
Ideally, problem colonies are requeened the previous season. If you need to requeen before a spring contract, use a mated queen where possible and allow enough time for acceptance, laying and assessment before the move. Do not rely on a last-minute queen change to fix a contract colony.
Unite weak colonies in good time
Two weak colonies rarely make good pollination units if left separate. If a colony is unlikely to reach the required strength, unite it with another suitable colony well ahead of the contract. Allow time for the united colony to settle, reorganise and build stores.
Do not move newly united colonies before you have checked they are queenright and stable.
Feed only when needed
Colonies need enough stores to cover poor weather, transport stress and gaps in forage. In late winter and early spring, fondant or syrup may be appropriate depending on conditions and colony need.
Avoid careless feeding close to honey production or crop bloom. Overfeeding can clog the brood nest and may affect honey quality if supers are used. Record all feeding decisions so you can judge later whether the colony was underfed, overfed or managed correctly.
Use drawn comb and space carefully

Drawn comb can help colonies expand faster in spring. Add space when the colony can use it, but avoid chilling brood by giving too much room too soon.
If moving colonies to a strong nectar flow such as oilseed rape, plan supering before the move or very soon after arrival. A congested colony on contract can quickly turn into a swarming problem.
Carry out health checks before accepting the risk
Never send doubtful colonies to a pollination site. Disease, high mite levels and failing queens are not only bad for pollination; they can damage your reputation and create a wider biosecurity risk.
Check queen status and brood pattern
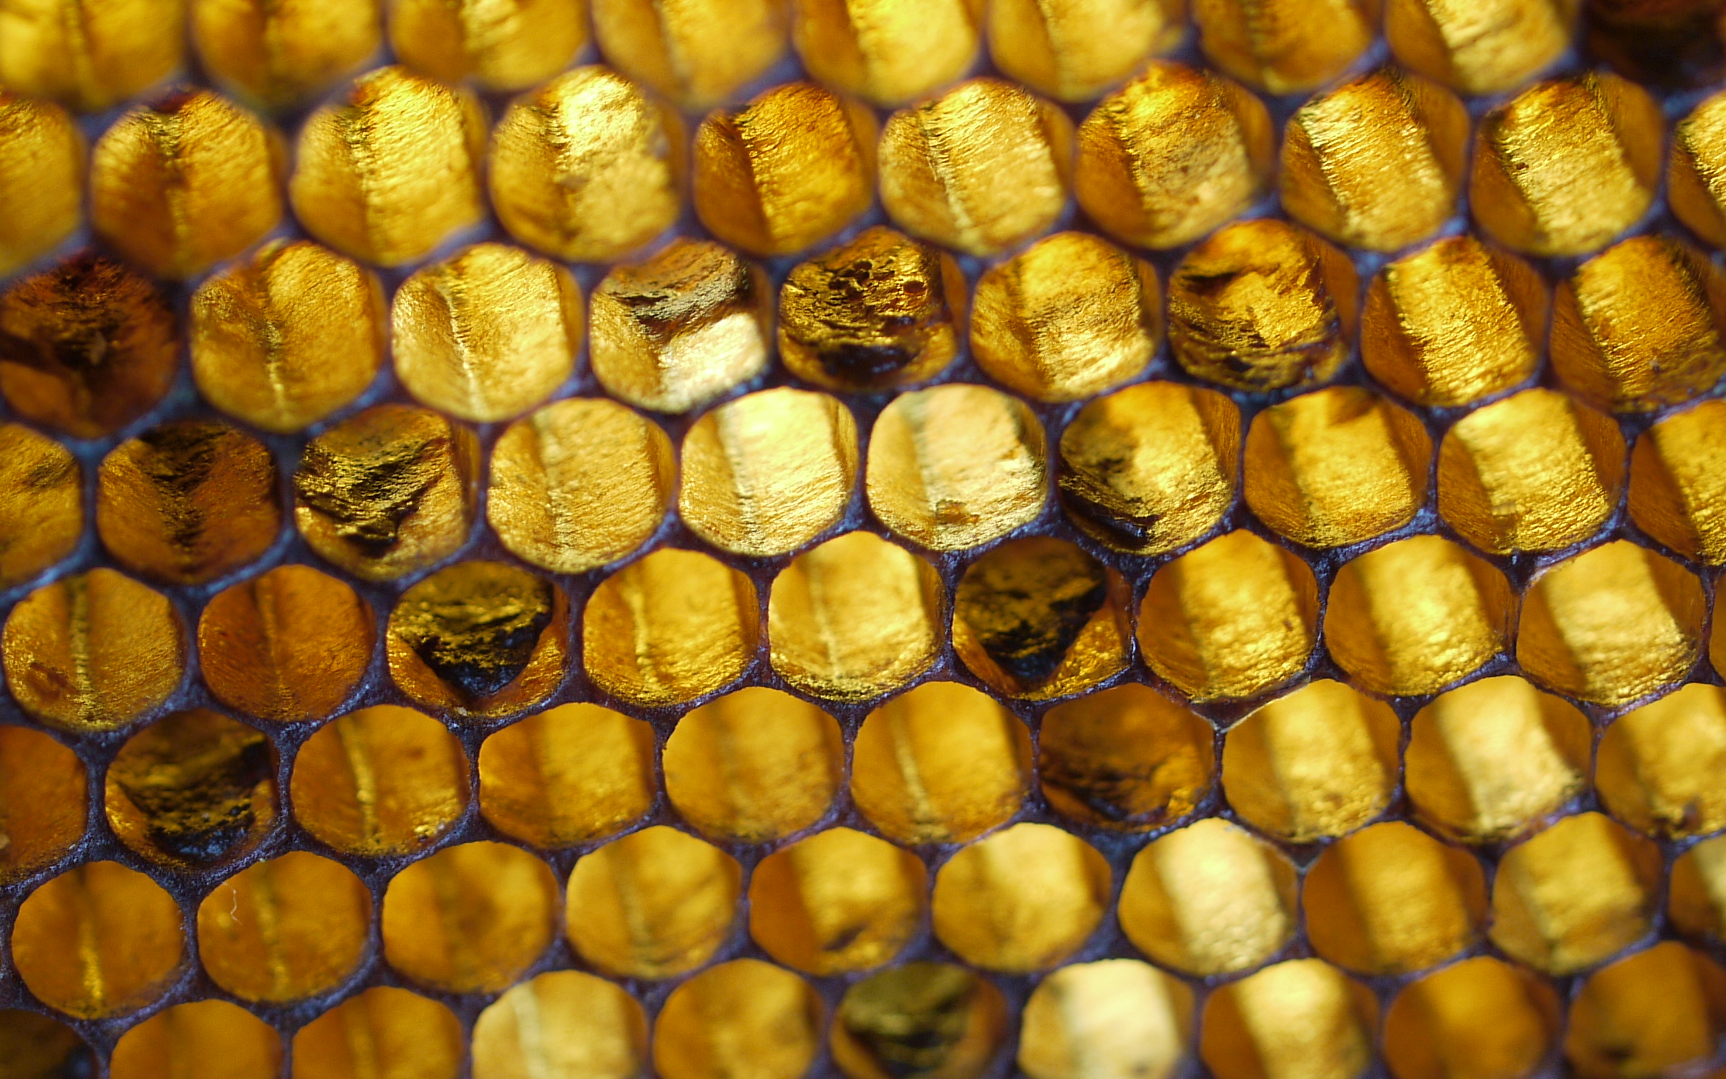
Before the move, confirm that each colony is queenright. You do not always need to see the queen if there are eggs and a good pattern of young brood, but you should be confident the colony has a functioning laying queen.
Look for:
- Eggs or very young larvae
- A consistent brood pattern
- Expanding brood appropriate to the season
- Sufficient adult bees to cover brood
- No signs of drone-laying workers or a failing queen
A patchy brood pattern may indicate queen problems, disease, chilled brood, varroa damage or poor nutrition. Investigate before committing that colony.
Monitor varroa
Check varroa levels using a suitable monitoring method, such as a natural mite drop board, sugar roll or alcohol wash where appropriate. Use a consistent method so your records are meaningful.
If levels are above your threshold, treat in good time and recheck. Avoid beginning a treatment immediately before a move unless there is no safe alternative and the product label allows it. Some treatments have temperature requirements, colony-strength considerations, honey-super restrictions or withdrawal implications.
Always follow the authorised product instructions.
Check for notifiable disease
Inspect brood carefully for signs of American foulbrood (AFB) and European foulbrood (EFB). If you suspect a notifiable disease, do not move the colony. Contact the National Bee Unit or your local Bee Inspector and follow official guidance.
Warning signs include:
- Sunken, perforated or greasy-looking cappings
- Dead larvae or pupae in abnormal positions
- Ropy larval remains
- Scales in brood cells
- Patchy brood with suspicious larval death
- Unpleasant odour in some cases
Do not “wait and see” with suspected foulbrood on a pollination contract. Stop, isolate the risk and seek official advice.
Keep treatment and inspection records
Good records protect you, the grower and other beekeepers. They also help you decide which colonies are worth using again.
For each pollination colony, record:
- Hive ID
- Inspection date
- Queen status
- Number of brood frames and frames covered with bees
- Stores level
- Temperament
- Varroa monitoring result and method
- Treatment product, active ingredient, batch number and date
- Operator
- Any withdrawal or honey-super considerations
- Disease observations
- Any contact with a Bee Inspector or the National Bee Unit
For veterinary medicines used in food-producing colonies, keep records in line with current UK requirements and product instructions. Bee Hive Tracker can hold these details against each hive, which is useful if a grower asks for evidence of due diligence.
Agree the pollination contract in writing
A written agreement avoids confusion when bloom dates change, access gates are locked, or a spray programme is brought forward. It does not need to be complicated, but it should be clear.
Essential contract points
Include:
- Grower name and contact details
- Beekeeper name and contact details
- Crop, field name and site location
- Number of hives supplied
- Hive IDs, where practical
- Expected delivery and collection windows
- Payment amount and due date
- Cancellation terms, especially if weather affects flowering
- Minimum colony strength standard, if agreed
- Access arrangements, keys, tracks and parking
- Who is responsible for water provision
- Pesticide and spray notification procedure
- Insurance expectations
- Responsibility for damage, theft or livestock interference
- Procedure if disease is suspected or confirmed
- Emergency contact arrangements
For larger contracts, or where significant money or liability is involved, consider taking professional advice on the agreement.
Discuss pesticides before the bees arrive
Pesticide risk must be addressed before hives are placed on the farm. Do not assume everyone involved in the crop knows bees are arriving.
Agree with the grower:
- Who will notify you of planned spray applications
- How much notice you will receive, ideally 48–72 hours where possible
- Whether agronomists and contractors have been told hives are present
- What products may be used during bloom
- Whether applications can be avoided during flowering
- If spraying is unavoidable, whether it can be done when bees are not flying, usually late evening
- Buffer zones and drift reduction measures
- What happens if an emergency treatment is required
UK beekeepers and farmers may also use BeeConnected to improve communication about crop protection activity. It should not replace direct contact with the grower, but it can support better coordination.
Plan the site before moving hives
A good site improves bee performance and reduces problems for the farm.
Choose safe, practical hive positions
Look for:
- Firm, level ground
- Good vehicle access in dry and wet conditions
- Shelter from strong wind where possible
- Morning sun if available
- Low risk of flooding
- Low risk of spray drift
- Distance from public footpaths, farmyards and livestock handling areas
- Enough room to work colonies safely
- A nearby water source, or space for you to provide one
Avoid frost pockets, gateways, narrow turning areas, livestock rubbing points and places where hives will obstruct farm machinery.
Place hives to reduce drifting and confusion
Where possible:
- Use pallets or stands to keep hives off wet ground
- Avoid long, identical rows of hives all facing the same way
- Use landmarks, spacing or varied entrance directions to help bees orientate
- Keep entrances clear of long grass
- Leave enough room for inspections and lifting
- Photograph the final placement for your records
Record the location with GPS coordinates or a clear map. This is particularly useful on large farms with several fields or blocks.
Prepare hives for transport
Moving hives is one of the riskiest parts of pollination work. Plan it carefully.
Before loading
Check that:
- Floors, brood boxes, supers and roofs are secure
- Hive straps are sound
- Entrances can be closed or screened safely
- Ventilation is adequate
- The vehicle payload is not exceeded
- The load can be secured legally
- You have a torch or headlamp for night work
- You have spare straps, tape, entrance blocks and tools
Full hives are heavy. Do not guess vehicle capacity. Include the weight of bees, boxes, honey, passengers, fuel and equipment.
When to move colonies
Move colonies at dusk, night or very early morning when most foragers are home. Avoid sealing colonies in hot conditions for longer than necessary.
Overheating can kill colonies quickly. Good ventilation is essential, especially for strong colonies or longer journeys. Open mesh floors, travel screens and shaded loading can help, but still avoid leaving closed hives standing in the sun.
On arrival
Once hives are in position:
- Check they are stable and level
- Open entrances promptly when safe to do so
- Confirm ventilation
- Check for obvious damage
- Make sure hive IDs are visible
- Record arrival time and site conditions
If robbing is a concern, or if colonies are small, entrance reduction may help. Strong colonies in active pollination work usually need enough entrance space for traffic and ventilation.
Allow colonies to settle
Colonies need time to orientate to the new site. Expect some settling-in before peak foraging.
As a practical rule, deliver colonies just before the crop reaches useful bloom, not after the main flowering window has passed. For many crops, hives should be in place as flowering begins, but exact timing should be agreed with the grower and adjusted to weather.
After arrival:
- Avoid unnecessary disturbance for the first day
- Watch entrance activity
- Check that bees are flying in suitable weather
- Confirm that water is available
- Make a brief inspection if any colony looks inactive, damaged or queenless
Long-distance moves, cold weather or very early spring conditions may require extra settling time.
Manage colonies during the contract
Once the bees are on the crop, keep inspections purposeful and brief. The aim is to maintain pollination strength without disrupting foraging.
Check for:
- Adequate stores
- Queenright status if activity looks poor
- Space for nectar and brood
- Swarm preparations in strong spring colonies
- Signs of disease
- Temperament problems
- Damage from livestock, weather or people
If a colony becomes queenless, aggressive, diseased or too weak, replace or remove it if you can do so safely and within the contract terms.
Feeding during pollination
If the crop is not yielding nectar, or weather prevents flying, colonies may need feeding. Use the most appropriate feed for the season and circumstances.
Be careful if supers are on the hive. Avoid contaminating marketable honey with feed syrup. Record all feeding.
Supers and crop honey
Decide before the contract whether supers will be used and who owns any honey produced on the site. In many cases, honey production is secondary to pollination, but strong colonies on crops such as oilseed rape may need space quickly.
Oilseed rape honey can granulate rapidly in the comb, so plan extraction promptly if you intend to take it.
Manage biosecurity between sites
Pollination work can move bees, equipment and pathogens over a wider area. Make biosecurity routine rather than optional.
Good practice includes:
- Cleaning hive tools between apiaries
- Avoiding interchange of combs between unrelated sites unless necessary
- Keeping suspect equipment separate
- Using clean gloves or washing gloves between inspections where practical
- Avoiding the movement of weak or suspicious colonies
- Recording all hive movements and disease observations
- Registering and updating apiaries on BeeBase
If disease is found after movement, accurate records help inspectors and neighbouring beekeepers respond quickly.
Prepare for pesticide incidents and emergencies
Even with good communication, incidents can happen. Agree an emergency process before the hives arrive.
If you suspect pesticide poisoning:
- Record the date, time, weather and location
- Photograph affected hives, entrances and nearby crop areas
- Collect samples only in line with current official guidance
- Notify the grower immediately
- Contact the National Bee Unit or relevant official reporting route for advice
- Preserve records of spray notifications, products and timings where available
- Log the incident against the affected hives
Do not make unsupported accusations. Record facts, keep samples if advised, and follow official reporting procedures.
For theft or vandalism:
- Photograph the site
- Notify the grower
- Report theft to the police
- Provide hive IDs, equipment markings and photographs
- Record the loss for insurance and future site assessment
Records to keep in Bee Hive Tracker
Pollination contracts are much easier to manage when every hive has a clear history. At minimum, record:
- Hive ID and hive type
- Home apiary and contract site
- GPS coordinates or map reference
- Inspection dates and summaries
- Queen status
- Frames of brood and frames covered with bees
- Stores level
- Temperament
- Varroa counts and monitoring method
- Treatments, dates, product, batch number and operator
- Disease observations and actions
- Movement date and time
- Vehicle and driver
- Grower contact details
- Contract start and end dates
- Site access notes
- Pesticide notification agreement
- Water arrangements
- Photos of hive placement and hive IDs
- Follow-up actions and deadlines
These records provide traceability, support grower confidence and make post-contract review much more useful.
Common problems and practical responses
High varroa levels before the move
Do not send the colony as if nothing is wrong. Treat in accordance with authorised product instructions, allow time for the treatment to work, and recheck. If the colony will not be ready, replace it with a better one or renegotiate.
Weak colonies close to delivery
Do not make up numbers with poor colonies. Unite in good time, replace with stronger hives, or reduce the number supplied by agreement. Fewer strong colonies are usually better than more weak ones.
Aggressive colonies
Do not place defensive colonies where farm staff, pickers or the public may be nearby. Requeen well in advance or exclude the colony from pollination work.
Locked gates or poor access
Confirm access before loading. Have a named farm contact available by phone during delivery and collection. Record gate codes, track conditions and parking instructions.
Poor weather during bloom
Bad weather can reduce bee flight and pollination, even with strong colonies. Keep communication open with the grower and record conditions. Weather risk should be recognised in the contract.
Spray notification failure
Record what happened, when you were notified, and any bee losses or colony effects. Speak to the grower promptly and calmly. Review whether the site is suitable for future work.
UK seasonal preparation calendar
December to February
- Check winter stores and feed if required
- Review previous pollination records
- Plan which colonies are suitable candidates
- Check insurance and contract templates
- Carry out winter varroa treatment where appropriate and in line with product guidance
- Prepare equipment, straps, floors and transport screens
February to April
- Assess spring build-up
- Confirm queenright colonies
- Feed if colonies are short of stores
- Replace or unite poor colonies early
- Monitor varroa
- Finalise orchard and early crop contracts
- Confirm site access, water and pesticide communication
April to June
- Move colonies for orchard, oilseed rape and soft fruit contracts as required
- Monitor stores, space and swarm risk
- Keep inspections brief and targeted
- Maintain grower communication
- Record arrivals, checks and any incidents
July to October
- Assess colonies after return
- Treat varroa at the correct time
- Replace failing queens
- Review contract performance
- Update records and decide which sites or growers you would work with again
Adjust timing for local conditions. South-facing orchards and sheltered lowland sites may flower well ahead of northern, exposed or upland locations.
Pre-move checklist
Before any pollination move, confirm:
- Public liability insurance is in place
- Contract terms are agreed in writing
- Hive numbers and IDs are recorded
- Colonies are queenright
- Brood patterns are acceptable
- Colonies are strong enough for the crop
- Stores are adequate
- Varroa levels have been checked and managed
- Treatments are recorded
- There are no signs of notifiable disease
- Vehicle payload and load security are suitable
- Hive straps and entrances are prepared
- Site access is confirmed
- A named farm contact is available
- Pesticide notification arrangements are agreed
- Water provision is agreed
- Emergency contacts are recorded
- Staff or helpers understand the lifting and safety plan
Ticking these off in Bee Hive Tracker keeps the preparation history with the hives, which is invaluable if questions arise later.
Final advice for experienced beekeepers
Be conservative. Pollination work rewards reliability, not optimism. A grower is more likely to rebook a beekeeper who supplies fewer strong, well-managed colonies than one who delivers large numbers of weak or troublesome hives.
Keep your operation tidy and professional:
- Mark hive IDs clearly
- Carry spare straps, entrance blocks and basic repair materials
- Keep printed or offline copies of key contact details
- Photograph hive placement on arrival
- Review each contract afterwards
- Note which colonies performed well and which sites caused problems
Good pollination work is built on strong bees, clear agreements and careful records. If you can provide all three, you are far more likely to build lasting relationships with growers.
Sources Used
- https://www.gov.uk/guidance/national-bee-unit
- https://www.bbka.org.uk
- https://www.nfuonline.com
- https://www.beeconnected.org.uk