How to Do a Spring Hive Inspection
A spring hive inspection should be quick, calm and purposeful. In the UK, wait for settled flying weather before opening the colony properly: ideally a dry, still day at around 14°C or above. If it is only just warm enough for bees to fly, do an entrance check and perhaps a very brief lift of the crownboard rather than a full frame-by-frame inspection.
Your main aims are to confirm that the colony is alive, queenright, has healthy brood, has enough accessible food, and shows no signs of serious disease or damaging Varroa pressure. Record what you find, decide what needs doing next, and close the hive before brood chills.
Why spring inspections matter
Spring is the point where a colony either builds strongly or quietly falls behind. The queen increases laying, the brood nest expands, forage becomes more variable, and colonies can run short of food just when they need it most. At the same time, Varroa mites begin reproducing in sealed brood, and strong colonies may move quickly towards swarm preparation.
A good spring inspection helps you decide whether to:
- Feed because stores are low or out of reach
- Leave the colony alone because it is building well
- Treat or monitor Varroa more closely
- Report suspected notifiable disease
- Give more space at the right time
- Plan swarm control, splitting or requeening
- Unite a weak or queenless colony before it dwindles
The best inspections are not long inspections. They answer clear questions and lead to clear actions.
When to do the first spring hive inspection in the UK
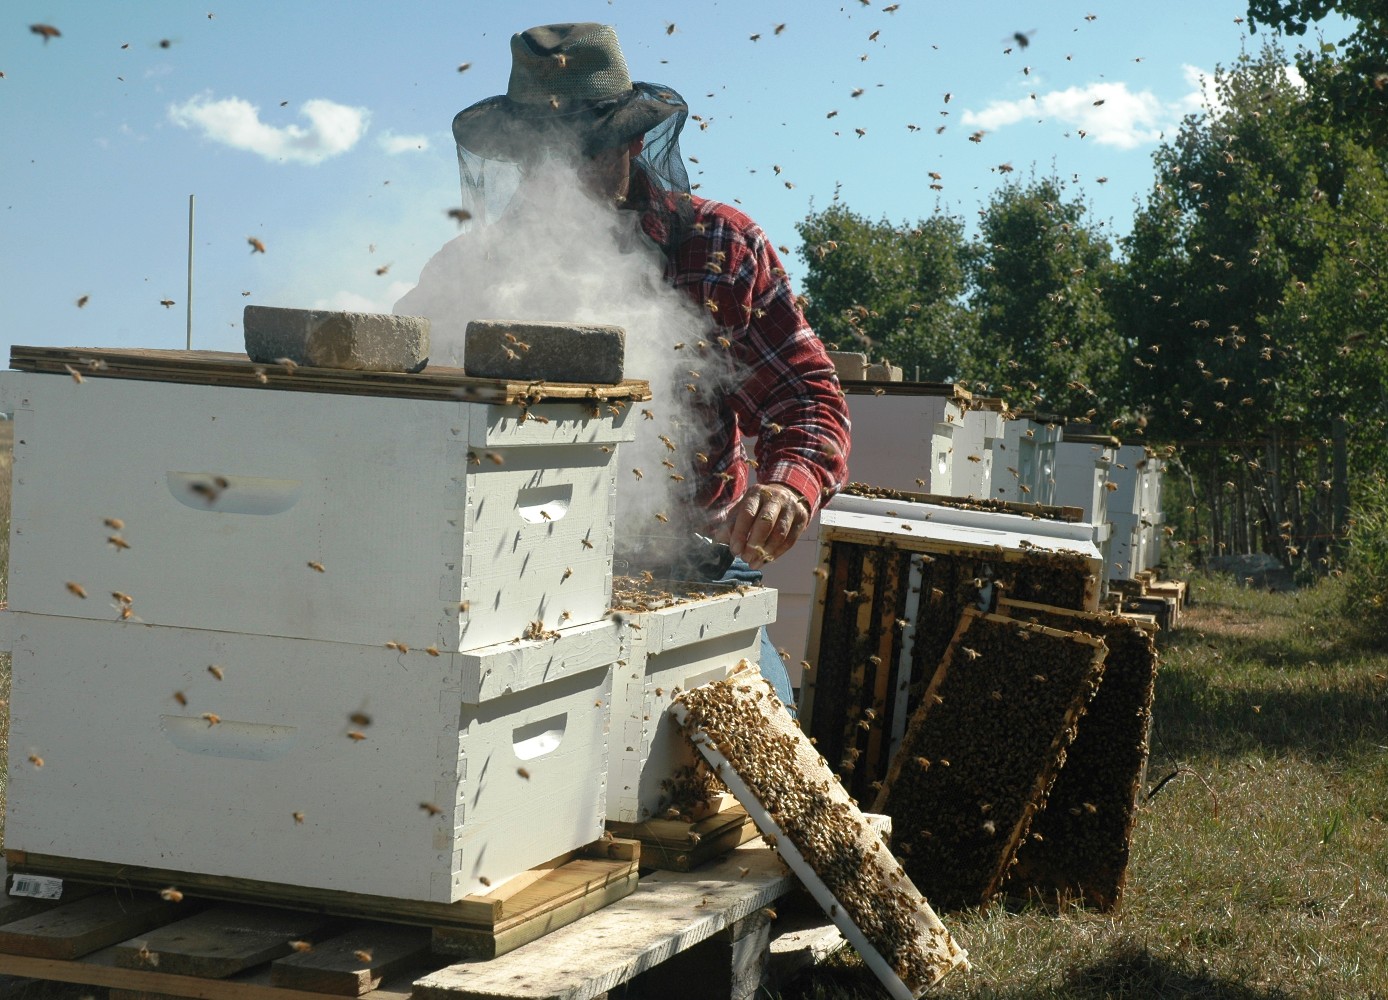
Use bee behaviour and weather, not the calendar alone. Regional timings vary widely:
- Southern England: often late February to March in a mild year
- Midlands and Wales: commonly March into early April
- Northern England, high ground and Scotland: often April, sometimes May
Open the hive properly when:
- Bees are flying steadily
- Pollen is coming in
- The day is dry and calm
- The temperature is comfortably in the mid-teens, or at least warm enough for bees to fly freely
- The forecast is not immediately turning cold, wet and windy
A quick external check can be useful at 10–12°C if bees are flying, but avoid exposing brood in marginal conditions. A full spring inspection on a cold, windy day can do more harm than good.
Before you open the hive
Have everything ready before you lift the roof. Spring colonies can chill quickly, and unnecessary delays are avoidable.
Take:
- Clean bee suit, veil and suitable gloves
- Lit smoker and spare fuel
- Hive tool
- Queen marking kit if needed, though do not make queen marking the main aim of an early inspection
- Spare brood frame or dummy board if you expect damaged comb
- Fondant or a suitable feeder if stores may be low
- Varroa monitoring equipment if you are doing a mite count
- Notebook, inspection card or record-keeping app
- Phone or camera for disease or queen-cell photos
- Disinfectant/washing soda solution for tools if moving between colonies
Good records matter in spring. Note the hive ID, date, weather, queen status, brood pattern, stores, Varroa observations, temperament and next action. Bee Hive Tracker is useful for keeping these records consistent across several colonies, especially where follow-up dates matter.
Start with an entrance check
Before opening the hive, watch the entrance for a minute or two.
Look for:
- Steady flying bees
- Pollen loads entering the hive
- Dead bees being removed
- Robbing behaviour, such as frantic fighting and bees trying to enter cracks
- Dysentery staining on the front of the hive
- Wasps or mice damage
- Very low activity compared with neighbouring colonies
Pollen coming in is encouraging and often suggests brood is present, but it is not absolute proof that the colony is queenright. You still need to check inside when conditions allow.
If the colony is very quiet while others are flying well, prepare for one of several possibilities: a weak colony, a dead-out, queenlessness, starvation, or a colony too cold to fly.
How to open the hive in spring
Work steadily and avoid unnecessary frame handling.
- Give one or two light puffs of smoke at the entrance if needed.
- Wait briefly, then remove the roof.
- Gently ease up the crownboard. Use a small amount of smoke if bees are clustered under it.
- Avoid rolling bees as you lift boxes or remove frames.
- Create space by removing an outer frame or dummy board first.
- Inspect the brood nest carefully, but handle only the frames needed to answer your questions.
- Keep brood frames over the hive, not away from it.
- Replace frames in the same order unless there is a clear reason to adjust stores.
- Close up promptly and make notes while the details are fresh.
Do not shake brood frames in early spring unless you have a strong reason. If you need to clear bees, use gentle brushing or a light shake over the box only when conditions are warm enough.
What to check during a spring hive inspection

1. Is the colony queenright?
You do not always need to see the queen. In spring, eggs are usually the best evidence that a queen has been laying recently.
Look for:
- Eggs at the bottom of cells
- Young larvae in royal jelly
- Brood in all stages
- Calm behaviour on the combs
- A coherent brood nest
If you find eggs and young larvae, the colony is almost certainly queenright. If you only find sealed brood and no eggs or young larvae, the queen may have stopped laying, died recently, or been superseded. Check again in suitable weather or take action if the colony is clearly queenless.
Signs of queen trouble include:
- No eggs or young larvae
- Scattered brood with no pattern
- Drone brood only in worker cells
- Multiple eggs on cell walls, suggesting laying workers
- Roaring or unsettled bees when the hive is opened
- Emergency queen cells on the face of the comb
In early spring, buying a mated queen may not be practical. A weak queenless colony is often better united with a strong queenright colony than left to dwindle.
2. What does the brood pattern look like?
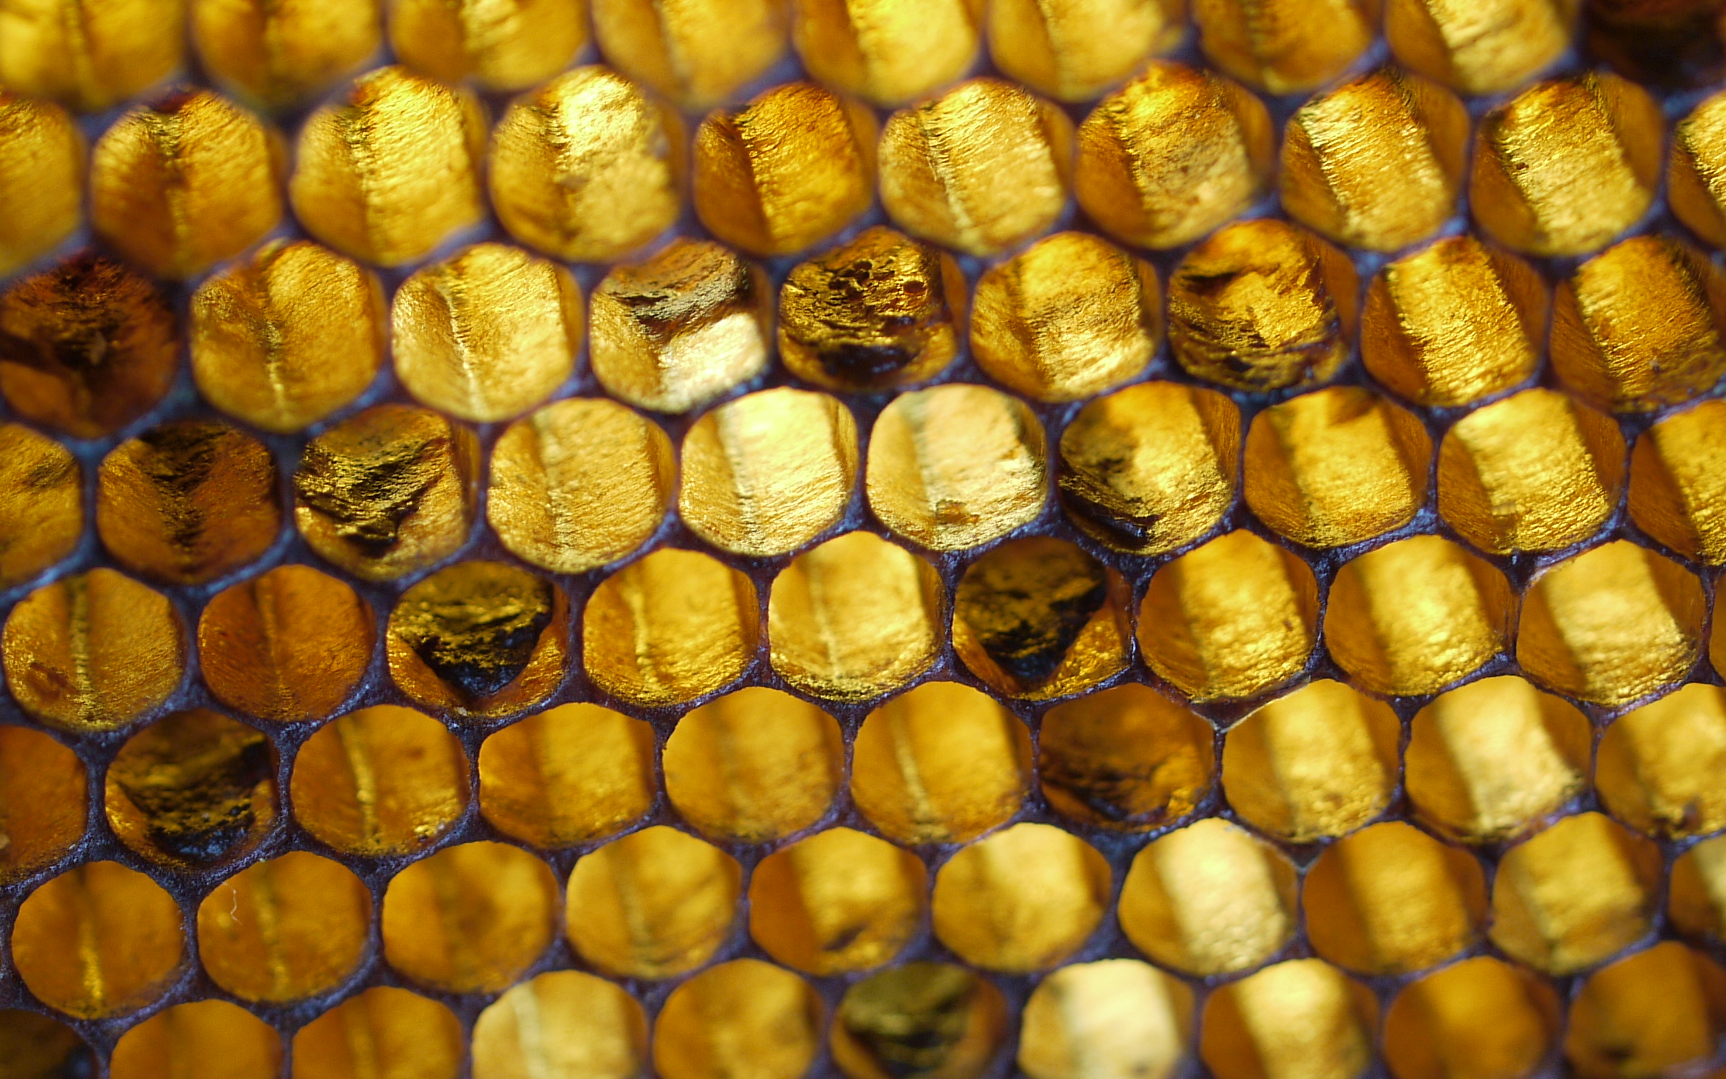
A healthy spring brood pattern is usually compact and expanding. It does not have to be perfect, especially early in the season, but it should make sense.
Healthy brood signs:
- Pearly white larvae curled in the bottom of cells
- Even patches of eggs, larvae and sealed brood
- Sealed brood in a reasonably solid pattern
- Nurse bees covering brood
- Brood nest expanding across adjacent frames
Warning signs:
- Spotty sealed brood with many missed cells
- Sunken, greasy or perforated cappings
- Dead larvae or pupae
- Chalky white or grey mummies
- Deformed young bees
- Drone brood scattered through worker comb
- A brood nest split by frames of stores or old comb
A patchy pattern can be caused by an ageing queen, chilled brood, disease, Varroa damage, poor nutrition or old comb. Do not assume the cause from one frame. Look at the whole brood nest and compare with your previous records.
3. Are there enough stores?
Spring starvation is common because colonies are rearing brood before reliable nectar flows have started. A hive can starve even when forage is beginning outside, especially during a cold wet spell.
Check both quantity and position of stores. Food needs to be close enough for the cluster to access in poor weather.
As a rough guide:
- A full British National brood frame of sealed stores can hold around 2 kg or more of honey
- A small nuc in early spring may need at least a couple of frames of accessible stores or fondant above the cluster
- A full colony should have several kilograms of stores available, more if poor weather is forecast
Feed if stores are light, if the brood nest is expanding fast, or if a cold spell is due.
Useful spring feeding options:
- Fondant: best in cold or changeable weather because bees can take it without processing much liquid
- 1:1 syrup: useful when bees are flying well and you want to stimulate brood rearing or comb drawing
- Thick syrup: sometimes used for emergency feeding, but fondant is often safer in cold spring weather
Avoid feeding syrup if bees cannot take it down and process it. Also avoid feeding while honey supers intended for harvest are on, unless it is an emergency and you manage the situation carefully to prevent syrup contaminating the crop.
If stores are present but separated from the brood nest, move one frame of sealed stores next to the brood, but do not split the brood nest or over-manipulate the colony.
4. Are there signs of Varroa pressure?
Varroa levels can rise quickly once brood rearing increases. Spring is a good time to assess whether winter treatment was effective and whether the colony is carrying damaging mite levels into the season.
Look for:
- Bees with deformed wings
- Shortened abdomens
- Spotty brood
- Chewed or uncapped pupae
- Dead pupae with mite damage
- Poor build-up compared with similar colonies
Visual signs often appear only after damage is already significant, so use proper monitoring where possible. Common methods include:
- Varroa floor drop counts
- Sugar roll/shake
- Alcohol wash, where permitted by your practice and with awareness that it kills the sampled bees
Take samples from brood frames if doing a mite wash or sugar roll, and compare results with National Bee Unit guidance, your previous records and treatment history. Always follow the label for any authorised Varroa medicine, including timing, dose, temperature limits, supers and record-keeping requirements.
Record the product, batch number, treatment date, dose and result. This is one of the areas where a digital log such as Bee Hive Tracker can save confusion later in the season.
5. Are there signs of notifiable disease?
In the UK, American foulbrood (AFB) and European foulbrood (EFB) are notifiable. If you suspect either, stop swapping equipment between hives and contact your local Bee Inspector or the National Bee Unit.
Possible AFB signs:
- Sunken, greasy-looking sealed brood cappings
- Perforated cappings
- Dark, decomposed larval remains
- Scales stuck to the lower cell wall
- Ropiness when tested by an experienced inspector or trained beekeeper
Possible EFB signs:
- Twisted or melted-looking larvae
- Yellow, brown or off-white discolouration
- Larvae dying before capping
- Uneven brood pattern
- Sour smell in some cases
Other brood problems include chalkbrood and sacbrood. These are not managed in the same way as AFB or EFB, but they should still be recorded and monitored.
If you are unsure, do not guess and do not attempt drastic treatment. Take clear photos if it is safe to do so, close the hive, avoid moving frames or tools to other colonies, and seek official advice.
6. Are queen cells present?
Spring queen cells need careful interpretation. Do not confuse empty queen cups with charged queen cells.
Check:
- Bottom edges of brood frames
- Faces of comb
- Gaps or damaged areas in comb
- Whether cells contain eggs or larvae in royal jelly
- Whether any cells are sealed
Possible meanings:
- Empty queen cups: normal and not urgent
- Charged queen cells: colony may be preparing to swarm or replace the queen
- Emergency cells on young worker larvae: possible queen loss
- Sealed queen cells in a strong colony: swarm may be imminent or may already have happened
Do not simply cut out all queen cells and hope for the best. If a colony is in swarm mode, removing cells without changing the colony’s condition often delays the problem only briefly. Use a proper swarm control method, such as an artificial swarm, split, nuc creation or requeening plan.
7. Does the colony need more space?
Adding space too early can chill the colony and slow build-up. Adding space too late can contribute to congestion and swarming.
Consider adding a super when:
- The brood box is well covered with bees
- Most brood frames are in use
- Bees are beginning to store nectar around the brood nest
- There is a reliable nectar flow starting
- Weather is suitable for continued expansion
In areas with oilseed rape, colonies can need supers earlier and more suddenly. Willow, blackthorn, dandelion, sycamore and hawthorn can also drive rapid spring build-up when weather is favourable.
If using a queen excluder, make sure the brood box is strong enough before adding supers. If using brood and a half or double brood, inspect carefully enough to understand where the queen is laying and where stores are accumulating.
Common spring scenarios and what to do
Few bees, plenty of stores, no brood
This often suggests queen loss, although a very small colony may simply be slow to restart. If there are no eggs, no young larvae and no queen, consider uniting with a stronger colony. In early spring, uniting is often more reliable than trying to save a failing unit.
Bees present, no stores, brood expanding
Feed immediately. Use fondant if weather is cold or unstable. If the colony is strong and flying well, syrup may be appropriate. Recheck soon, especially if the forecast is poor.
Good population, patchy brood and deformed wings
Suspect Varroa-associated virus pressure. Carry out a mite assessment and plan treatment according to current guidance and product labels. Record the result and recheck after treatment.
Queen cells on several frames
Decide on a swarm control plan. If queen cells are charged, act promptly. If sealed cells are present, check whether the queen is still in the hive before choosing a method.
Brood nest blocked with stores
If the queen has little room to lay because cells are packed with stores, add appropriate space or rearrange carefully. Do not split brood with cold empty comb in poor weather.
Colony defensive and unsettled
Check stores, queen status and weather first. Hungry, queenless or chilled colonies can be difficult. Record temperament over several inspections before deciding a colony is genetically defensive and needs requeening.
Biosecurity during spring inspections
Spring is a common time to discover winter losses and diseased comb, so keep biosecurity tight.
Good practice includes:
- Cleaning hive tools between colonies where disease is suspected
- Avoiding transfer of frames between colonies unless necessary
- Not moving equipment from suspect hives to healthy colonies
- Keeping apiary records up to date
- Registering on BeeBase and knowing how to contact your local Bee Inspector
- Replacing old brood comb gradually as part of normal management
If you find a dead colony, close it up until you can examine it properly. Do not leave comb exposed to robbing bees. Robbing can spread disease and residues around the apiary.
What to record after a spring hive inspection
A useful record should help you make the next decision quickly. Include:
- Hive ID and apiary location
- Date, time and weather
- Strength of colony
- Queen seen, eggs seen, or queen status uncertain
- Number of brood frames
- Brood pattern and brood health
- Stores level and whether feed was given
- Pollen availability
- Queen cells or swarm indicators
- Varroa monitoring result
- Treatments applied, including product and batch details
- Temperament
- Photos of anything unusual
- Next inspection date and specific action required
For example, “recheck in seven days for charged queen cells” is more useful than “inspect soon”. Bee Hive Tracker, a hive card or a simple notebook can all work well; the key is consistency.
A simple spring inspection routine
A practical inspection might look like this:
- Watch the entrance for flying bees, pollen and signs of trouble.
- Light the smoker and open the hive gently.
- Check stores first if the colony feels light.
- Inspect the central brood frames for eggs, larvae and sealed brood.
- Assess brood pattern and larval health.
- Look for queen cells as you inspect brood frames.
- Note the number of frames covered with bees.
- Check for visible Varroa or disease signs.
- Feed, add space or take swarm-control action only if needed.
- Close the hive and record the next action immediately.
Aim to leave the colony better managed, not merely disturbed.
When to leave the colony alone
Not every spring inspection needs intervention. If the colony has a good brood pattern, enough stores, no concerning disease signs, no charged queen cells and enough space for the next week or two, close it up and leave it to build.
Spring beekeeping rewards restraint. The best action is sometimes simply to record what you saw and return at the right interval.
Final spring inspection tips
- Do not open brood nests in cold, windy or wet weather.
- Keep early inspections short.
- Prioritise queen status, stores, brood health and disease checks.
- Feed before colonies become desperate.
- Monitor Varroa rather than guessing.
- Treat suspected AFB or EFB as urgent and notifiable.
- Do not cut out queen cells without a proper swarm plan.
- Use local knowledge from your association, mentor and Bee Inspector.
- Keep clear records so each visit builds on the last.
A good spring hive inspection is not about finding every bee or handling every frame. It is about making timely, proportionate decisions that help the colony build safely into the season.
Sources Used
- https://www.nationalbeeunit.com
- https://www.gov.uk/guidance/bee-health-and-diseases
- https://www.bbka.org.uk
- https://www.nationalbeeunit.com/index.cfm?pageid=167
- Local bee association advice pages, with regional contacts available via BBKA and the National Bee Unit