How to Ventilate a Hive in Winter
Winter hive ventilation is not about making a colony cold. It is about keeping the bees dry while avoiding draughts through the cluster.
A good UK winter setup gives moisture somewhere safe to go, keeps wind out of the brood box, protects the entrance from mice, and uses insulation so warm, damp air is less likely to condense directly above the bees. Before changing anything, check colony strength, stores and recent Varroa control. Then record what you have done so you can compare results colony by colony in spring.
Why winter ventilation matters
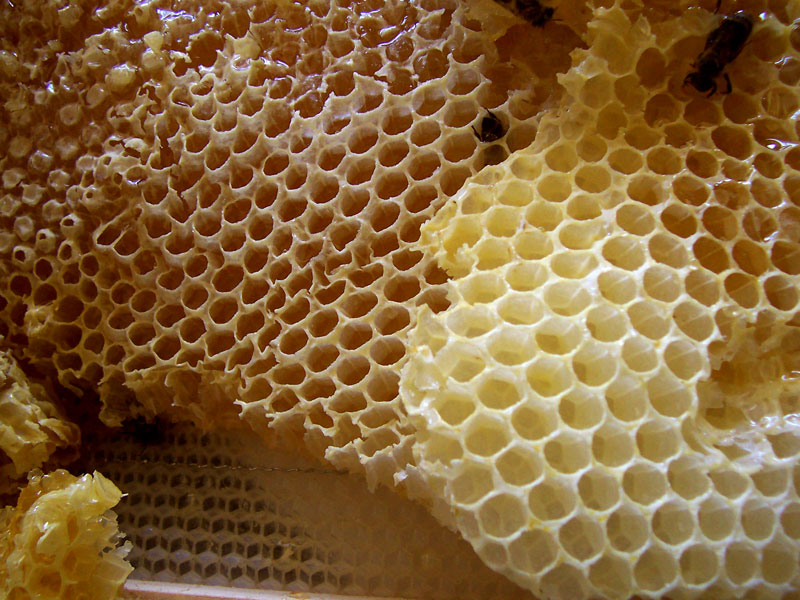
Honey bees generate heat and water vapour as they consume stores. In a cold hive, that vapour can condense on the underside of the crownboard, roof or cold combs. If it drips onto the cluster, the bees have to use more energy to stay warm and may chill.
Cold alone is not usually the main problem for a healthy, well-fed colony. Damp, starvation, high Varroa levels and exposure to wind are far more common contributors to winter losses.
The aim is therefore simple:
- keep rain and leaks out
- reduce condensation above the cluster
- avoid wind blowing through the brood nest
- maintain a small, defendable entrance
- provide enough airflow or vapour absorption for the hive type and site
There is no single perfect ventilation arrangement for every apiary. A sheltered garden in Devon, an exposed field in Northumberland and a coastal site in Scotland may all need slightly different winter setups.
Core principles of winter hive ventilation
Keep the cluster dry
A dry colony can tolerate low temperatures far better than a wet one. Your ventilation and insulation should work together:
- insulation helps keep inner surfaces warmer, reducing condensation
- controlled ventilation lets damp air escape gradually
- absorbent materials, such as a quilt box, can hold moisture away from the bees
- a slight forward tilt helps any water run out rather than pool inside
Avoid creating a strong “chimney” through the colony. Large top holes combined with a wide open entrance can draw cold air through the brood box and make the bees work harder.
Prevent draughts, not all airflow
A hive should not be sealed airtight, but it should not be draughty. Small, sheltered openings are preferable to large gaps.
Check for:
- warped crownboards
- loose roofs
- gaps between boxes
- damaged entrances
- poor-fitting mouseguards
- exposed open mesh floors in windy sites
Use proper hive parts, insulation, reducers and windbreaks rather than leaving random gaps.
Match ventilation to colony strength
Strong colonies produce more heat and more water vapour, so they can usually cope with a little more ventilation. Small colonies need more protection from wind and may benefit from insulation above and around the cluster.
Do not try to “fix” a weak colony in mid-winter by repeatedly opening it. If it is light, feed fondant with minimal disturbance. If it is small, prioritise warmth, stores and reducing unnecessary hive space.
When to set up winter ventilation
Late autumn is the best time
For much of the UK, the main winter preparation period is from late September through November, depending on local weather and forage. Aim to complete winter setup after the main feeding and Varroa treatment work, but before prolonged cold weather.
At the final autumn check, confirm:
- the colony has adequate stores
- the brood box is not full of empty, unused comb
- Varroa treatment has been completed or planned appropriately
- the roof is sound and waterproof
- the entrance reducer and mouseguard fit properly
- the crownboard, insulation and any ventilation method are in place
Use colony condition rather than the calendar alone. A large double-brood colony and a small nucleus colony will not need identical treatment.
Avoid unnecessary mid-winter opening
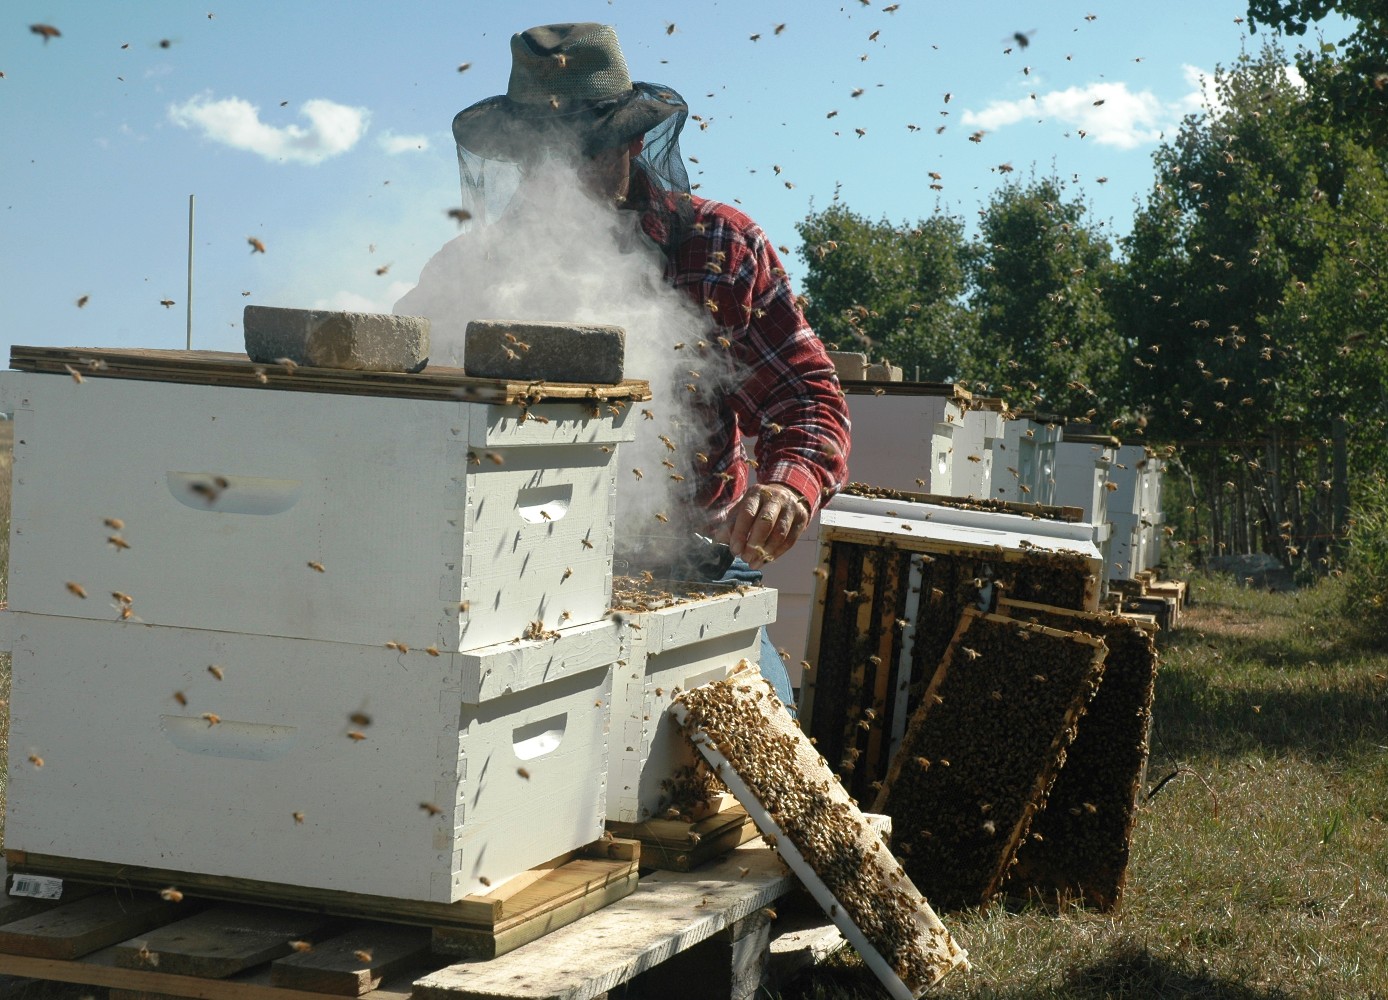
In winter, inspect from the outside wherever possible. Heft the hive, observe the entrance, check the roof and look for storm damage.
If you must open a hive, choose a calm, dry, mild day and keep the disturbance brief. Avoid lifting brood frames unless there is a serious reason. Many winter problems can be assessed by checking weight, entrance activity and the condition under the roof without dismantling the brood box.
Practical winter ventilation options
1. Top insulation with a controlled vapour route
For many UK beekeepers, a well-insulated roof area is the simplest starting point. Insulation above the crownboard helps keep the surface above the cluster warmer, reducing condensation.
Suitable materials include:
- purpose-made insulated roofs
- rigid insulation board fitted securely above the crownboard
- thick natural fibre insulation kept dry
- insulated crownboards or cover boards
If the crownboard has feed holes, decide whether they are being used for feeding, ventilation, or closed. Leaving a large open feed hole under a cold roof can encourage condensation and heat loss. If you use a feed hole as a small vent, protect it with mesh and insulate above it so moisture is not simply condensing and dripping back down.
2. Quilt boxes
A quilt box is a shallow box above the brood area containing dry, absorbent material. It allows water vapour to move away from the bees and be absorbed or dispersed before it condenses into droplets above the cluster.
Common materials include:
- wood shavings from untreated timber
- wood wool
- hemp fibre
- dry straw
- hessian or other breathable natural fabric
Avoid sawdust that packs tightly, treated timber products, damp bedding and anything with strong odours or chemical residues.
A typical arrangement is:
- Place a breathable cloth or mesh over the top of the brood box or crownboard opening so bees cannot enter the quilt material.
- Add a shallow quilt box above it.
- Fill with dry absorbent material, without compressing it hard.
- Fit a weatherproof roof above.
- Make sure rain cannot enter and soak the quilt.
The quilt should absorb moisture without becoming a cold, wet mass. Check it in spring and replace any mouldy or sodden material. If the quilt is repeatedly wet, look for roof leaks, excessive top ventilation, poor insulation, or water being driven into the hive by wind.
3. Vented crownboards
A vented crownboard or small mesh-covered hole can help moisture escape, especially when used with insulation or a quilt above it. The opening should be modest and protected.
As a general guide, use a small hole or slot rather than a large open feed hole. Cover it with suitable mesh to prevent bees, wasps and other insects moving through. In exposed apiaries, avoid placing top vents where wind can blow directly through them.
A small vent can be useful; a large draught above the cluster is not.
4. Open mesh floors
Open mesh floors are common in the UK and can help reduce damp by allowing some air movement from below. They are also useful for Varroa monitoring when used with a tray.
There are two main winter approaches:
- leave the mesh floor open, especially where the hive is sheltered and well insulated above
- insert the monitoring tray partially or temporarily in very exposed, windy or cold sites
Avoid turning the floor into a source of strong draughts. If you use a tray, check it occasionally so it does not trap wet debris and mould. Do not rely on the floor alone to solve condensation if the roof is cold and uninsulated.
5. Entrance reducers and mouseguards
A reduced entrance is usually sensible in winter. It helps the bees defend the hive, limits wind entering the brood box and keeps the opening manageable for a smaller winter population.
Fit a mouseguard before mice start seeking shelter, often in autumn. Make sure:
- the guard is metal or otherwise mouse-proof
- it is fixed securely
- there are no alternative gaps around the floor or entrance block
- dead bees can still be cleared or removed if they accumulate
The opening should be large enough for bees to come and go on cleansing flights, but not so large that wind can sweep through the brood box. Adjust for colony size and local conditions.
6. Poly hives and insulated wooden hives
Polystyrene and other insulated hives reduce heat loss and often have fewer condensation problems than thin, uninsulated wooden boxes. They still need a sensible moisture route and a secure entrance.
With insulated hives:
- follow the manufacturer’s ventilation design where appropriate
- avoid adding excessive extra holes
- keep entrances reduced and mouse-protected
- check that crownboards, feeders and roofs fit properly
- watch for mould if the colony is small in a large volume of space
Good insulation does not remove the need for judgement, but it can make winter moisture control much easier.
Site setup that improves winter ventilation
Shelter from prevailing wind
A good windbreak is often more useful than adding extra vents. In many parts of the UK, prevailing westerly and south-westerly winds drive rain and cold air into exposed hives.
Useful shelter includes:
- hedges
- fences
- walls
- straw bales
- natural banks or woodland edges
Do not block all light and airflow around the apiary. The aim is shelter, not a damp, stagnant corner.
Raise hives off wet ground
Keep hives on stable stands, blocks or rails so they are clear of wet soil and vegetation. This reduces damp around the floor and makes winter checks safer and easier.
Clear long grass from entrances and stands. Wet vegetation touching the hive can hold moisture and encourage rot.
Tilt the hive slightly forward
A slight forward tilt helps condensation or wind-driven rain run towards the entrance and out of the hive, rather than back onto the floor or frames. The tilt only needs to be small; the hive should remain stable and level enough for safe management.
What to check before altering ventilation
Stores
Ventilation will not save a starving colony. Before winter, make sure the hive has enough stores for its size, strain and location.
As a broad UK guide, a full-size colony often needs around 18–22 kg of stores going into winter, but requirements vary. Large colonies, exposed sites and long winters may need more. Nucleus colonies need assessment in proportion to their size and equipment.
In autumn, feed thick syrup early enough for bees to take down and process it. In winter, use fondant placed close to the cluster, commonly over a crownboard feed hole or directly above the bees if conditions require. Avoid open or entrance feeding in cold weather, as it can encourage robbing and is often ineffective.
Colony size
A large colony in a compact, dry hive usually manages winter well. A small colony in a large brood box with empty comb around it may struggle to maintain warmth and control moisture.
Consider:
- dummy boards
- insulation
- uniting weak colonies in autumn where appropriate
- overwintering small colonies in suitable nucleus equipment
Do not reduce space in a way that separates bees from stores.
Varroa control
Varroa levels in late summer and autumn have a major effect on winter survival. Colonies weakened by mites and viruses may dwindle even if ventilation is excellent.
Keep clear records of:
- treatment type
- start and finish dates
- mite drop or monitoring results
- colony strength before and after treatment
- any signs of abnormal winter losses
Bee Hive Tracker can be useful for linking winter outcomes with Varroa history, feeding, hive type and ventilation setup.
Roof condition
Many “condensation” problems are actually leaks. Before adding vents, check the basics:
- no cracked roof covering
- no water running under the roof edge
- no rotten corners
- crownboard not warped
- boxes seated squarely
- straps or weights secure against storms
A leaking hive is not a ventilation problem; it is a repair problem.
How to check for ventilation problems without opening the brood box
Look at the entrance
On mild days, healthy colonies may show occasional flight, dead bee removal or a steady presence at the entrance. In cold weather, no flight may be perfectly normal.
Look for:
- entrance blocked by dead bees
- mouse damage
- excessive damp debris
- water running from the entrance
- bees struggling to exit through a clogged mouseguard
Clear blockages gently without opening the hive if possible.
Heft the hive
Regular hefting is one of the most useful winter checks. A hive that feels light may need fondant even if there is no visible ventilation issue.
Record approximate weight changes. Consistent records are more useful than memory, especially when managing several colonies.
Check under the roof briefly
On a suitable day, you can often lift the roof without disturbing the brood nest. Look for:
- wet insulation
- mouldy quilt material
- water pooling on the crownboard
- obvious roof leaks
- blocked mesh vents
Replace wet absorbent material and fix leaks promptly. If the crownboard is heavily wet, improve insulation and consider a better moisture escape route.
Signs of poor winter moisture control
When you do open the hive properly in late winter or spring, warning signs include:
- water droplets on the underside of the crownboard
- mouldy outer combs
- soggy stores
- wet debris on the floor
- bees clustered away from damp combs
- dead bees wet and matted in the cluster area
- a quilt box that is sodden rather than lightly damp
Some mould on unused outer combs can occur in winter and does not always mean the colony is failing. The main concern is moisture above or within the cluster.
Example winter ventilation setup for a UK wooden hive
This example suits a standard National or Langstroth-style wooden hive in a reasonably sheltered UK apiary. Adjust for local conditions and colony strength.
Step 1: Complete autumn preparation
At the final practical autumn check:
- assess stores
- confirm the colony is queenright as far as reasonably possible
- remove empty supers
- avoid leaving unnecessary empty space above the colony
- complete Varroa treatment according to product instructions
- check the roof, floor and boxes for gaps or leaks
Record the colony condition, stores estimate and treatment status.
Step 2: Fit entrance protection
Fit an entrance reducer and mouseguard before cold weather is established. Ensure the opening is small and defendable but not blocked.
Check that the mouseguard does not trap dead bees too easily. If dead bees build up behind it, clear the entrance during routine winter visits.
Step 3: Add top insulation or a quilt
Choose one clear top strategy rather than a mixture of random gaps.
For a simple insulated setup:
- close or control large crownboard holes unless feeding
- place insulation above the crownboard
- fit a dry, secure roof
For a quilt setup:
- allow vapour to pass into the quilt through a controlled opening or breathable layer
- keep quilt material dry at installation
- ensure the roof is watertight
- check the quilt in spring
Step 4: Manage the floor for the site
If using an open mesh floor, decide whether to leave it open or use the tray based on exposure and hive design. In sheltered sites with good top insulation, an open mesh floor often works well. In very exposed sites, partial shelter from wind may be helpful.
Do not let a monitoring tray fill with wet debris.
Step 5: Note the setup
Record:
- date winter setup was fitted
- entrance size
- mouseguard type
- floor open, closed or partially closed
- crownboard type
- insulation or quilt material
- stores estimate
- Varroa treatment details
- any damp, mould or leak observations
A quick photo in Bee Hive Tracker can be very helpful when reviewing what worked next season.
Troubleshooting common winter ventilation problems
Condensation dripping onto the cluster
Likely causes include a cold roof, poor insulation, excessive hive volume, a large colony producing moisture, or inadequate vapour absorption.
What to do:
- add or improve top insulation
- fit or refresh a quilt box if suitable
- check the roof for leaks
- reduce draughts through gaps
- avoid creating a large top-to-bottom airflow path
- check stores, as wet cold colonies burn food quickly
Wet or mouldy quilt material
A quilt should not be soaking wet. If it is:
- check for roof leaks
- replace the wet material with dry material
- ensure the quilt is not packed too tightly
- make sure rain cannot blow in through side gaps
- review whether the colony has too much unused space
Mouldy outer frames
Mould on outer combs can happen when bees are clustered away from unused space. In spring, remove badly mouldy combs and clean or replace equipment as needed.
Do not spray chemicals inside the hive to treat ordinary winter mould. Improve space management, insulation and ventilation instead.
Bees appear weak in mid-winter
Do not repeatedly open the hive to investigate unless necessary. First:
- heft the hive
- clear the entrance if blocked
- provide fondant if stores may be low
- check for storm damage and leaks
- wait for suitable weather before deeper inspection
If you suspect disease or serious abnormal losses, seek advice from your local association or Bee Inspector.
Mice are getting in
Mice can destroy comb and cause severe disturbance. If there are signs of mice:
- fit a secure metal mouseguard immediately
- close alternative gaps
- repair chewed entrance blocks
- remove nesting material when safe to do so
- inspect combs properly in spring
Disease, legal and safety considerations
Varroa and winter survival
Good winter ventilation cannot compensate for high Varroa levels. Monitor and treat appropriately within UK guidance and product instructions. Keep records of treatments and results so you can identify patterns in winter losses.
Notifiable brood diseases
American foulbrood and European foulbrood are notifiable in the UK. If you see suspicious brood signs during inspections, do not move combs between colonies. Contact your local Bee Inspector or the National Bee Unit for guidance.
Useful warning signs include:
- patchy brood
- sunken or perforated cappings
- ropy larval remains
- unusual smells
- scales in cells
- larvae twisted or melted in abnormal positions
Photos and inspection notes can support diagnosis, but do not delay reporting suspected notifiable disease.
Safe winter working
Winter apiaries are often wet, slippery and windy. Take care when lifting roofs, blocks and hive parts.
- work in daylight
- avoid opening hives in strong wind or rain
- secure roofs after storms
- use hive straps or weights where needed
- take care on muddy stands and uneven ground
- get help for heavy lifting
When to remove winter ventilation measures in spring
Do not remove winter protection on the first warm day. Weather often turns cold again in March or April.
Start adjusting the setup when:
- bees are flying regularly
- brood rearing is expanding
- nights are less severe
- the colony is strong enough to manage more space
- spring inspections are possible without chilling brood
You may remove or refresh quilt material, reduce excessive insulation if it interferes with management, and adjust entrances as the colony grows. In many cases, top insulation can remain useful well into spring.
Record what you find:
- dry or wet crownboard
- mould levels
- stores remaining
- colony strength
- dead-out signs if a colony failed
- whether the ventilation setup seemed suitable
These notes are valuable when preparing the same apiary the following winter.
Winter hive ventilation checklist
Use this checklist during autumn setup and occasional winter checks:
- Site and colony recorded
- Roof watertight and secure
- Hive tilted slightly forward
- Hive raised clear of wet ground
- Entrance reducer fitted
- Mouseguard fitted securely
- Entrance clear of dead bees and grass
- Crownboard holes closed, controlled or used deliberately
- Top insulation fitted and dry
- Quilt box fitted if used
- Quilt material clean, dry and breathable
- Open mesh floor managed for site conditions
- No large gaps between boxes
- Stores estimated or hive hefted
- Fondant added if needed
- Varroa treatment recorded
- Photos added if there are damp, mould or repair issues
Practical advice for UK beekeepers
Winter ventilation works best when it is part of a complete winter plan. Get the fundamentals right first: healthy winter bees, adequate stores, sound equipment, shelter from wind and protection from mice.
In most cases, small and controlled is better than open and draughty. Use insulation to reduce condensation, provide a sensible route for moisture, and avoid repeatedly disturbing the cluster.
Keep records for each colony rather than relying on general impressions. A short Bee Hive Tracker note showing entrance setup, floor position, insulation type, stores and spring outcome can quickly reveal what works best in each apiary.
Local conditions matter. If in doubt, compare notes with experienced beekeepers nearby and follow guidance from your local association or Bee Inspector.
Sources Used
No external URLs were used from the research notes provided.