How to Fix a Queenless Hive
A queenless hive is not always an emergency, but it does need a calm, accurate diagnosis. The right remedy depends on what brood stages are present, whether the colony has started queen cells, the time of year, and whether laying workers have developed.
In practice, your main options are:
- Wait and let the colony raise a new queen, if it has eggs or very young larvae and the season is suitable.
- Introduce a mated queen, if the colony is genuinely queenless and has no active queen cells or virgin queen.
- Unite with a queenright colony, especially late in the season or where laying workers are present.
- Create or use a nucleus colony, if you have spare brood, bees and a reliable queen source.
Do not shake bees out, destroy queen cells, or introduce a new queen until you know what stage the colony is at. Good notes are essential: record the last date eggs were seen, queen cells found, action taken and the planned follow-up date. Bee Hive Tracker is particularly useful here because queenless colonies often need several timed checks before you know whether the fix has worked.
First: Confirm the Hive Is Really Queenless
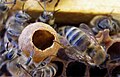
Many colonies that appear queenless are not. The queen may be small, newly mated, off the frame you checked, or temporarily out of lay. In other cases the old queen has gone, but the colony is already raising a replacement.
Inspect on a mild, calm day with good light. Work gently and avoid chilling brood.
Look for Eggs
Eggs are the most useful clue. They look like tiny white grains standing in the bottom of the cell. If you see eggs, a queen was laying within the last three days.
That does not prove she is still alive at the moment of inspection, but it means the colony is not beyond repair. It also means the bees may still have material to raise an emergency queen if needed.
Check for Young Larvae
Very young larvae are small, pale and curled in a “C” shape. The youngest larvae are suitable for queen rearing; older larvae are not ideal.
If there are eggs or very young larvae, the colony has options. If there are no eggs and no young larvae, the bees may no longer be able to raise a good queen without help.
Read the Brood Pattern
Brood stage tells you roughly when the queen last laid:
- Eggs: laid within the last 1–3 days.
- Open worker larvae: roughly days 4–9 from egg.
- Capped worker brood: capped around day 9 and emerges around day 21.
- Capped drone brood: capped around day 10 and emerges around day 24.
- No brood at all: the colony has been queenless for some time, or has had a long brood break.
Patchy brood alone does not prove queenlessness. It can also be caused by poor mating, disease, chilled brood, a failing queen, varroa pressure or lack of stores.
Identify Queen Cells
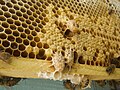
Queen cells tell you what the colony is trying to do.
- Emergency queen cells are usually made from worker cells containing eggs or young larvae. They often appear on the face of the comb and may look rougher because the bees have modified existing cells.
- Supersedure cells are often fewer in number, commonly on the face of the comb, and may indicate the colony is replacing a failing queen.
- Swarm cells are often numerous and commonly found along the lower edges or margins of frames during the swarming season.
Do not destroy queen cells unless you have a clear plan. Removing them from a genuinely queenless colony can leave it with no way to recover.
Watch for Laying Workers
Laying workers usually appear after a colony has been without queen pheromone and open brood for several weeks.
Typical signs include:
- Multiple eggs in one cell.
- Eggs attached to the sides of cells rather than neatly placed at the bottom.
- Scattered drone brood in worker-sized cells.
- A very patchy, untidy brood area.
- No normal worker brood developing.
A drone-laying queen can look similar, but she usually lays single eggs neatly at the bottom of cells. Laying workers are harder to fix than a recently queenless colony.
Use a Test Frame if You Are Unsure
If you cannot tell whether the colony is queenless, add a frame containing eggs and very young larvae from a healthy, disease-free queenright colony.
Mark the frame and inspect it after three or four days.
- If the bees start emergency queen cells on the test frame, the colony is probably queenless.
- If they do not start queen cells, there may be a queen or virgin queen present.
Only take brood from a colony you are confident is healthy. Never move brood or equipment from a colony showing suspicious disease signs.
Practical Brood and Queen Timings
These timings help you decide whether to wait or intervene:
- Worker egg stage: 3 days.
- Worker larva: until about day 9.
- Worker emergence: about day 21 from egg.
- Queen emergence: about day 16 from egg.
- Virgin queen mating: usually several days after emergence, depending on weather.
- First eggs from a newly mated queen: often 2–3 weeks after emergence, but poor weather can delay this.
As a rule, once a colony has started raising a queen, allow around 3–4 weeks before deciding it has failed. Inspecting too frequently during virgin queen emergence and mating can cause disruption and may increase the risk of losing her.
Decision Guide: What to Do Next
If Eggs Are Present
The colony had a laying queen within the last three days.
Action:
- Do not treat it as hopelessly queenless.
- Close the hive and record eggs present.
- Recheck in 7–10 days if you are concerned about the brood pattern or queen quality.
If the colony is aggressive, poorly productive or the brood pattern remains poor, plan a controlled requeen later rather than making a rushed decision.
If No Eggs Are Present but Young Larvae and Queen Cells Are Present
The colony may already be raising a replacement queen.
Action:
- Leave the colony alone.
- Record the date and queen cell details.
- Recheck after about 21–28 days, depending on the age of the cells and weather.
Do not introduce a mated queen while the colony has active queen cells. She is likely to be rejected or killed.
If No Eggs or Young Larvae Are Present but Capped Brood Remains
The queen may have been lost recently, but the colony may not have suitable larvae left for emergency queen rearing.
Action depends on what you find:
- If good queen cells are present, you may wait.
- If no queen cells are present, add a test frame, introduce a mated queen, or unite the colony.
- In spring and early summer, introducing a mated queen or giving a frame of eggs from a healthy colony can work well.
- In late summer or autumn, uniting is often the safer option.
If There Is No Brood at All
A broodless colony with no queen is running out of time. It cannot raise a queen without eggs or larvae.
Action:
- Introduce a mated queen if the season is suitable and the colony is strong enough.
- Unite with a queenright colony if the season is late, the colony is weak, or no queen is available.
- Check carefully for disease before moving frames or combining colonies.
If Laying Workers Are Present
Do not simply put a new queen into the hive. Colonies with laying workers often reject introduced queens.
Better options are:
- Unite carefully with a strong queenright colony using the newspaper method.
- Shake the bees out some distance from the hive stand and remove the hive, allowing flying bees to beg into other colonies, if this is appropriate for your apiary and disease has been ruled out.
- Use the bees to strengthen nucs only with care and experienced guidance.
If you are unsure, ask an experienced beekeeper or local association for help before acting.
Method 1: Let the Colony Raise Its Own Queen
Use this method when the colony has eggs or very young larvae, the weather is suitable for mating, and drones are available.
Steps
- Confirm there are eggs or very young larvae.
- Check that the colony has enough bees and stores to support queen rearing.
- Avoid unnecessary manipulation. Do not keep opening the colony to “see what is happening”.
- Record the date, brood stage and queen cell details.
- Leave the colony for around three weeks before checking for signs of a laying queen.
- At the follow-up inspection, look for eggs, young larvae and a developing brood pattern.
When This Works Best
This is most reliable in late spring and early summer, when drones are flying and weather is warm enough for mating flights.
Risks
- The virgin queen may fail to mate due to poor weather.
- She may be lost on a mating flight.
- The resulting queen’s genetics depend on local drones.
- A colony headed by a poor-tempered queen may produce another poor-tempered queen if her daughters mate with similar local drones.
If temperament or production is a concern, you may still decide to requeen later with a selected mated queen.
Method 2: Introduce a Mated Queen
Introducing a mated queen is often the quickest way to restore a queenless colony during the active season, but acceptance depends on timing and colony condition.
Use this method when:
- The colony is queenless.
- There are no active queen cells.
- There is no virgin queen present.
- The colony is not dominated by laying workers.
- The season is suitable and the colony is worth saving.
Steps
- Source a mated queen from a reputable breeder or trusted local supplier.
- Record her origin, strain, marking colour and arrival date.
- Inspect the colony and remove queen cells before introduction.
- Place the caged queen between brood frames where bees can access the cage.
- Do not release her directly into the hive.
- Allow gradual release through candy, or follow the supplier’s cage instructions.
- Leave the colony undisturbed for several days.
- Check for eggs about 7–14 days after expected release.
Use Bee Hive Tracker to record the queen source, introduction date, cage type, release date and first date eggs are confirmed. This is valuable if you later compare queen acceptance rates across different suppliers or apiaries.
Signs of Acceptance
When bees are accepting a caged queen, they often appear calm around the cage and may feed her through the mesh. If they are tightly balling the cage, biting at it or acting aggressively, release should be delayed.
Common Causes of Queen Introduction Failure
- A virgin queen is already present.
- Queen cells were missed.
- Laying workers are established.
- The colony is being robbed or is short of food.
- The queen was released too quickly.
- The colony was disturbed too often after introduction.
Method 3: Unite with a Queenright Colony
Uniting is often the best solution for weak queenless colonies, late-season queenlessness, or colonies with laying workers. It preserves the bees and stores without risking a poor late mating.
Do not unite colonies if you suspect disease.
Newspaper Method
- Confirm the receiving colony is queenright, healthy and strong enough.
- Check both colonies for signs of brood disease before uniting.
- Place one or two sheets of newspaper over the brood box of the queenright colony.
- Make a few small slits in the paper.
- Place the queenless colony above the newspaper.
- Close the hive and leave the bees to chew through gradually.
- Inspect after 5–7 days to confirm the colonies have united calmly.
- Reduce excess boxes and frames as needed.
Record which hive was united into which, the date, and the queen retained. This prevents confusion later, especially where hive numbers and queen histories matter.
Method 4: Make or Use a Nucleus Colony
A nuc can be useful if you have spare brood and bees, or if you want to introduce a queen into a smaller, more manageable unit before strengthening a full colony.
Steps
- Make up a nuc with brood, young bees and stores from healthy colonies.
- Introduce a mated queen in a cage.
- Keep the nuc well supplied and reduce the entrance if robbing is a risk.
- Once the queen is laying well, decide whether to build the nuc up separately or unite it with the original colony.
This method is useful where a full-sized colony is difficult to requeen directly, but it requires spare equipment and enough healthy bees.
Seasonal Advice for UK Beekeepers
Spring
Colonies are building, and queen replacement can work well if conditions are warm enough. Early spring can still be risky because drones may be scarce and weather can interrupt mating.
If a colony is queenless in early spring and weak, uniting may be better than trying to save it alone.
Early Summer
This is usually the best period for queen rearing, requeening and mating. Drones are available, colonies are strong, and there is usually enough forage to support recovery.
Late Summer
Queen introduction may still work, but mating a virgin queen becomes less reliable as the season advances. If the colony is weak or the weather is unsettled, uniting is often the better choice.
Autumn
In most cases, unite rather than attempt queen rearing. A colony that enters winter queenless is unlikely to thrive.
Winter
Avoid opening colonies unnecessarily in cold weather. If you strongly suspect a colony is queenless in winter, seek local advice. Any intervention must be balanced against the risk of chilling the cluster. In many cases, decisions are made at the first suitable spring inspection.
Disease Checks Before You Move Brood or Unite Colonies
Before giving brood, making a nuc, or uniting colonies, inspect for disease.
Be alert for:
- Sunken, greasy or perforated cappings.
- Patchy brood with dead or discoloured larvae.
- Unpleasant smell from brood comb.
- Larval remains that look abnormal.
- Scales in cells.
- Unexplained colony weakness.
American foulbrood and European foulbrood are notifiable diseases in the UK. If you suspect either, stop manipulating the colony and contact your local bee inspector or the National Bee Unit for guidance. Do not unite colonies, exchange frames, sell bees, or move equipment until you have advice.
Photographs and dated inspection notes are useful when asking for help. Record what you saw, which frames were affected and whether the symptoms were widespread or isolated.
Record-Keeping for Queenless Colonies
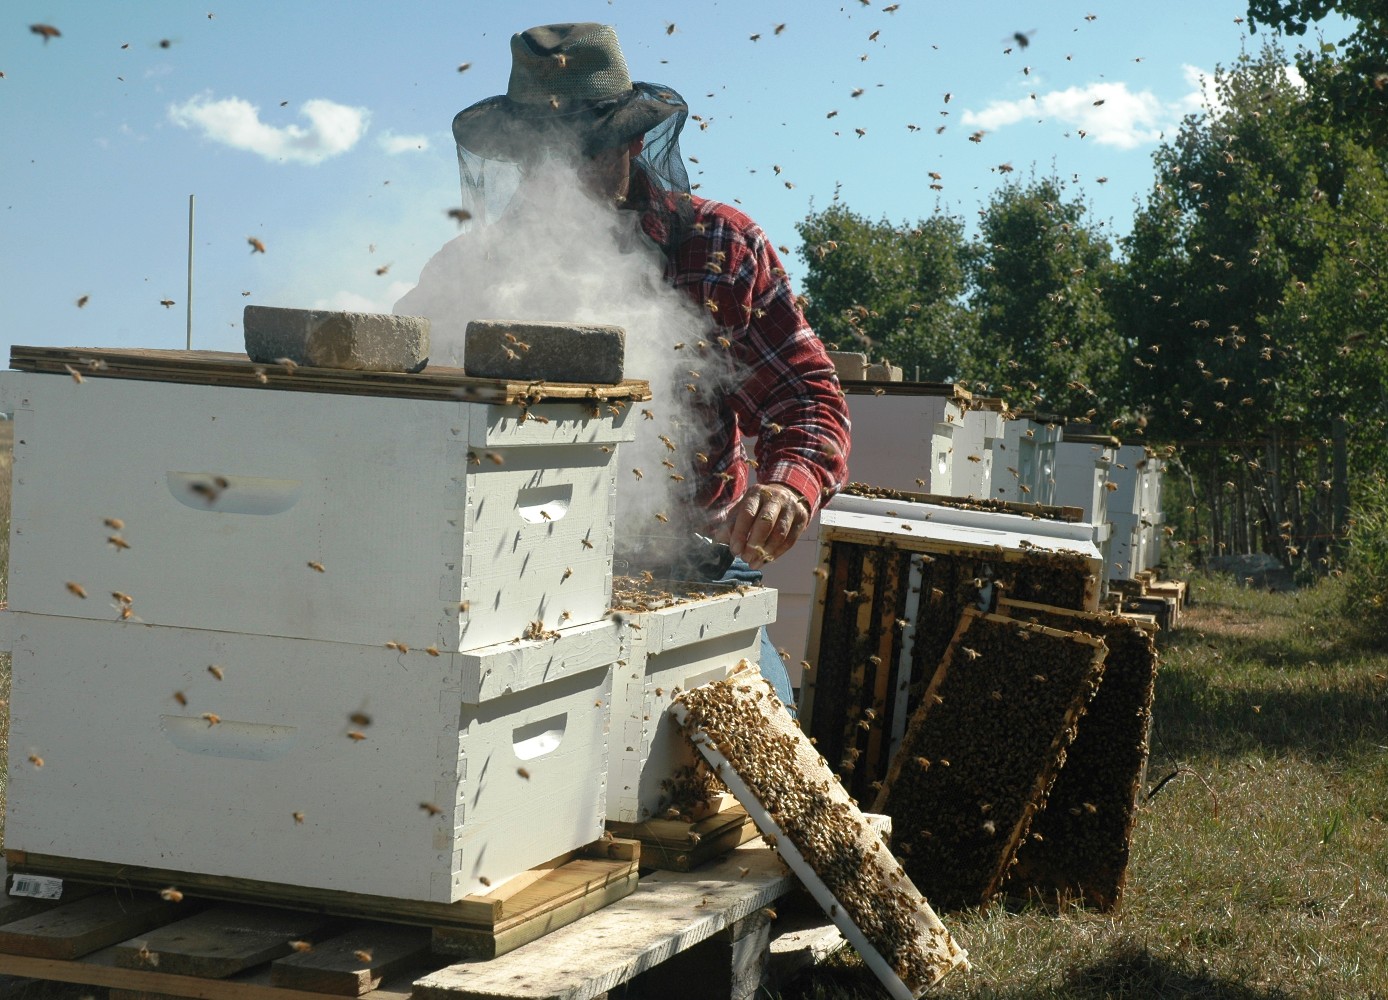
Queenless hive management depends heavily on timing. Without records, it is easy to inspect too early, wait too long, or repeat a failed method.
Record:
- Hive ID and apiary location.
- Date and weather.
- Whether the queen was seen.
- Last date eggs were seen.
- Brood stages present.
- Number, type and position of queen cells.
- Signs of laying workers.
- Whether a test frame was added.
- Source colony for any brood given.
- Queen introduction date, queen source and marking colour.
- Date of queen release, if known.
- Date eggs were first confirmed.
- Any unite, nuc creation or shake-out.
- Follow-up results and colony temperament.
Bee Hive Tracker can help by storing inspection notes, queen details, photos and follow-up reminders in one place. For queenless colonies, those reminders are especially useful because the correct next step often depends on whether 7, 14, 21 or 28 days have passed.
Example: What to Do This Week
If you inspect a suspected queenless hive this week, follow a simple sequence.
- Check for eggs first.
- If eggs are present, close the hive and record the finding.
- If there are no eggs but young larvae and queen cells are present, leave the colony to continue queen rearing and schedule a follow-up.
- If there are no eggs, no young larvae and no queen cells, add a test frame or introduce a mated queen if conditions are right.
- If the colony has laying workers, plan to unite or seek experienced help.
- If it is late autumn or winter, favour uniting or taking local advice rather than attempting queen rearing.
- Record every action and the next inspection date.
Common Mistakes to Avoid
Acting Too Soon
A colony with eggs is not beyond help. A colony with queen cells may already be solving the problem. Intervening too quickly can undo the bees’ progress.
Destroying Queen Cells Without a Plan
If you remove all queen cells from a queenless colony that has no eggs or young larvae, you may leave it unable to recover.
Introducing a Queen into a Colony with Queen Cells
A new mated queen is unlikely to be accepted if the bees are already committed to queen cells or have a virgin queen present.
Inspecting Too Often During Mating
Virgin queens need time and settled weather. Frequent disturbance can be counterproductive.
Ignoring Laying Workers
Once laying workers are established, queen introduction becomes much less reliable. Act early when you first suspect queenlessness.
Uniting Without Checking for Disease
Never combine colonies until you have ruled out suspicious brood disease. Uniting spreads problems as well as bees.
When to Ask for Help
Ask for experienced support if:
- You cannot distinguish queen cells from drone comb or play cups.
- You are unsure whether eggs indicate laying workers or a queen.
- Brood looks abnormal or diseased.
- Several queen introductions have failed.
- You are dealing with queenlessness late in the season.
- The colony is aggressive or difficult to inspect safely.
A local beekeeping association mentor can often solve uncertainty in one visit. If brood disease is suspected, contact the appropriate bee inspector rather than waiting.
Final Advice
Fixing a queenless hive is mostly about diagnosis and timing. Look for eggs, read the brood stages, check queen cells, consider the season, and choose the least disruptive remedy that gives the colony a realistic chance.
If the colony has the right young brood and the season is favourable, waiting may be best. If it has no suitable brood, introduce a mated queen or provide a test frame. If it is weak, late in the year, or affected by laying workers, uniting is often the most practical solution.
Above all, keep accurate records. Note what you saw, what you did and when you need to return. With careful observation and timely follow-up, many queenless colonies can be restored or their bees saved for productive use elsewhere in the apiary.
Sources Used
- No external URLs used; guide based on standard UK beekeeping practice and practical field experience.