How to Deal with Mouldy Frames
Mould on beehive frames is usually a sign of damp conditions, poor ventilation, unused comb, or a colony that is too small or weak to keep its space warm and clean. It is not usually a primary honey bee disease, but it should not be ignored.
The immediate job is to assess the colony, identify how much comb is affected, remove or replace badly mouldy frames, and correct the moisture problem. Light surface mould on outer combs can often be cleaned by a strong colony once conditions improve, but heavy mould, spoiled stores, or mould on neglected brood comb needs firmer action.
Record what you find: photos, frame numbers, colony strength, queen status, stores, weather, and what you did. Keeping those details in Bee Hive Tracker makes it much easier to spot whether the issue was a one-off damp spell or a recurring problem with a particular hive, site, feeder, roof, or management routine.
How to recognise mould on frames
Mould on comb usually appears as a surface growth on wax, top bars, side bars, stored honey, pollen, the crownboard, or inside the roof. It may look:
- white, grey, green, blue-grey, or occasionally dark
- fuzzy, powdery, furry, or patchy
- concentrated on upper surfaces where condensation drips
- worse on outer frames that are not well covered by bees
- common in empty hives, deadouts, weak colonies, nuclei, and damp stored supers
Mould is most often seen after wet weather, over winter, in early spring, in poorly ventilated storage, or where a colony has become too small for the box it occupies.
Problems that can be mistaken for mould
Before deciding what to do, make sure you are not looking at something more serious.
Chalkbrood Chalkbrood is a fungal disease of larvae. It produces hard, chalky, white, grey, or black “mummies” in brood cells or on the floorboard. It is different from a fuzzy surface mould on comb or woodwork.
American foulbrood or European foulbrood Foulbrood is notifiable. Warning signs include sunken or perforated cappings, irregular brood patterns, dead or discoloured larvae, ropiness, scales, and an unpleasant smell. If foulbrood is suspected, do not move frames, shake bees, unite the colony, or dispose of comb before getting advice from your Bee Inspector or the relevant UK bee health authority.
Wax moth damage Wax moth damage shows as silken webbing, tunnels through comb, frass, chewed wax, and larvae. It is common in weak colonies and stored brood comb. It is a pest issue rather than mould, although both can occur together in neglected comb.
Granulated honey or pollen Crystallised honey can look pale or grainy, but it is not fuzzy. Pollen may also appear dull or powdery in cells. If stores smell sour, fermented, or unpleasant, treat them as spoiled.
First checks when you find mould
Do not strip the hive apart unnecessarily in cold weather. If it is winter or early spring, choose a mild, calm day and work quickly. If conditions are too cold for a full inspection, limit yourself to checking the crownboard, roof, stores, and obvious damp until a safer inspection window.
Focus on the following points.
Colony strength
Check how many frames of bees are present. A strong colony covering the comb well can usually polish up light surface mould. A small cluster in a full brood box, or a nucleus with too much empty space, may not be able to keep comb warm and dry.
Queen and brood status
Look for eggs, young larvae, sealed brood, and a reasonable brood pattern if the season allows. A queenless, broodless, failing, or very small colony is much more likely to leave frames unattended, allowing mould to develop.
Location of the mould
Note exactly where it is:
- crownboard or underside of roof
- top bars only
- outer brood frames
- centre brood frames
- super frames
- stored comb away from the hive
- frames near a feeder
- frames containing honey, pollen, or old brood comb
Mould on a crownboard or outer frame suggests condensation. Mould throughout comb, especially with dead bees or sour stores, needs closer investigation.
Stores and feeding
Check whether the mould is associated with syrup, fondant, a leaking feeder, damp insulation, or fermented stores. Thin syrup used too late in the season, spilled syrup, or a feeder that drips onto comb can create persistent damp.
Hive condition and site
Look for practical causes:
- leaking roof
- damaged crownboard
- blocked or poorly positioned entrance
- hive leaning backwards so water runs in
- hive sitting low to the ground
- long grass restricting airflow
- shaded, damp apiary position
- too many boxes left on a small colony
- damp stored supers in a shed or garage
Smell
A normal hive should smell waxy, warm, sweet, or resinous. A sour, rotten, putrid, or strongly unpleasant smell is a warning sign. Stop and investigate carefully. If brood disease is possible, contact your local Bee Inspector before taking further action.
What to do on the day
1. Keep the inspection controlled
Open the hive calmly and expose only what you need to see. In cold or wet weather, avoid leaving brood frames out of the hive. If the colony is small, chilling it can make the original problem worse.
2. Remove obvious water
If there is pooled water on the crownboard, inside the roof, or on insulation, wipe it away. Replace soaked insulation or damp absorbent material. Check that the roof is sound and seated properly.
3. Reduce unused space
A small colony in a large space is more likely to develop mould on unattended comb. Depending on the season and colony size, consider:
- removing empty supers
- using dummy boards
- reducing the colony to a more suitable box
- moving a nucleus into equipment that matches its strength
- ensuring bees are clustered around the frames they need to use
Do not over-condense a colony in hot weather, but in cool damp conditions bees benefit from a space they can control.
4. Deal with light surface mould
Light mould on top bars, outer comb, or non-brood areas can usually be brushed off outdoors with a bee brush or gently scraped with a hive tool. If the colony is strong and the comb is otherwise sound, the bees will often clean it once the frame is within reach and conditions improve.
Place lightly affected frames towards the edge of the brood nest or super where bees can access them, rather than putting mouldy comb directly into the centre of the brood area.
5. Remove badly mouldy comb
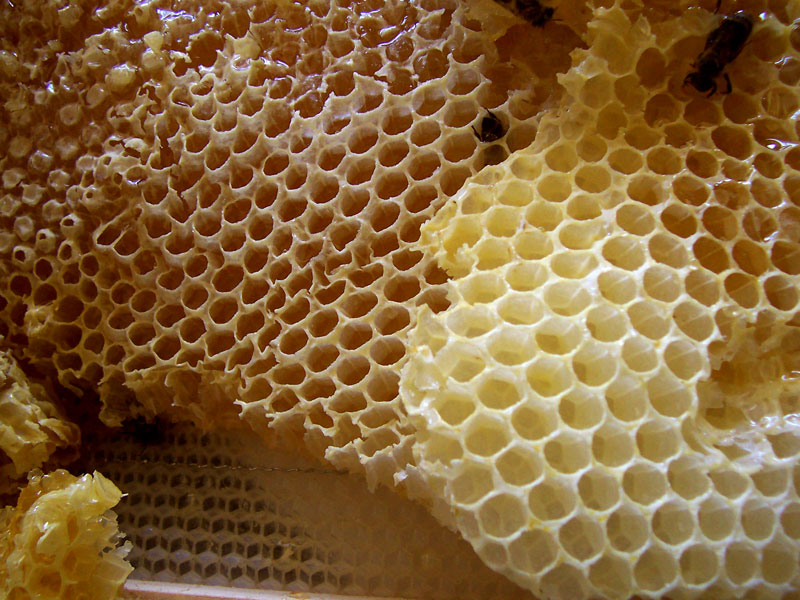
Remove frames where:
- mould is heavy or widespread
- cells are filled with mouldy stores
- comb smells sour or rotten
- old brood comb is dark, damp, and neglected
- mould returns repeatedly on the same frame
- the colony is too weak to clean it
- there are signs of wax moth damage as well as mould
Replace with clean drawn comb if available, or foundation if appropriate for the season and colony strength. Avoid giving a weak colony more foundation than it can draw and cover.
6. Feed only if needed, and feed correctly
If the colony is short of food, feed in a way that does not add unnecessary moisture.
In autumn, use thick syrup or suitable invert feed early enough for the bees to process it before cold weather. In winter, fondant is usually safer than watery syrup. Make sure fondant does not drip through the crownboard and feeders do not leak.
Do not feed mouldy, sour, fermented, or contaminated honey back to bees.
7. Record the inspection
Log the issue while it is fresh. In Bee Hive Tracker, record the hive ID, date, weather, affected frame numbers, photos, colony strength, queen status, brood condition, stores, suspected cause, action taken, and the follow-up date.
Handling different types of mouldy frames
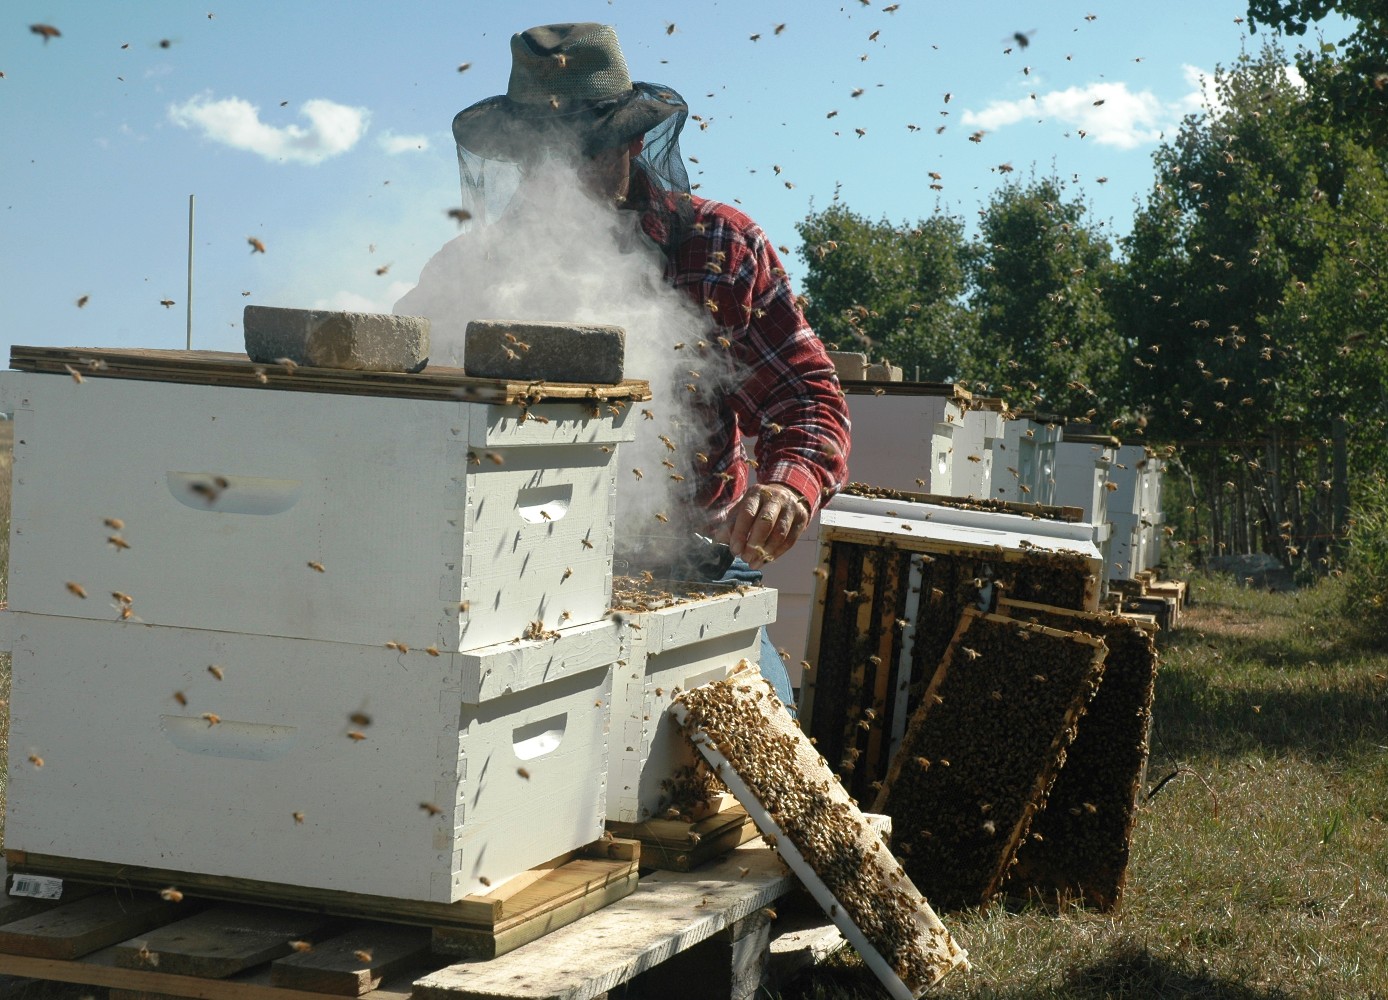

Light mould on super frames
If super comb has only light surface mould and no sour smell, a strong colony may clean it. Brush it off, dry the comb if needed, and only return it to a colony strong enough to cover it.
If the comb contains mouldy or fermented honey, do not use it for human consumption and do not feed it back to bees.
Mould on brood frames
Brood comb deserves more caution. Light surface mould on the outer edge of a brood box may be cleaned by a healthy colony, especially in spring as the colony expands. However, old, dark, damp brood comb with mould inside cells is better removed and replaced.
If the colony is weak, queenless, or broodless, do not rely on the bees to clean a large amount of affected brood comb. Correct the colony problem as well as the mould problem.
Mould in a nucleus colony
A nuc has fewer bees and less spare heat. Mould in a nuc often means the bees have too much space, too much damp feed, poor insulation, or insufficient strength.
Reduce the space, remove badly affected comb, check the queen, and consider uniting if the nuc is failing. Avoid overfeeding thin syrup in cool damp conditions.
Mould in a deadout
Mould is common after a colony dies because there are no bees to regulate moisture or clean comb. Close the entrance to prevent robbing until you have inspected it.
Check carefully for signs of starvation, queen failure, varroa-related collapse, wax moth, and brood disease. If there are suspicious brood symptoms, contact the Bee Inspector before cleaning, reusing, or disposing of equipment.
If there is no disease concern, heavily mouldy comb should usually be discarded. Sound wooden parts can be cleaned and reused after scraping and appropriate scorching or bee-safe cleaning, depending on the equipment and level of contamination.
Mould on stored frames
Stored comb becomes mouldy when it is put away damp, stored in poor airflow, or kept in a humid shed. Supers should be stored dry, protected from mice and wax moth, and kept with good ventilation.
Do not stack wet supers tightly in a damp garage and leave them for months. If extracted supers are returned to bees for cleaning, remove and store them once dry, rather than leaving them exposed to prolonged damp conditions.
What to salvage and what to discard
Use this practical rule of thumb.
Usually safe to let bees clean:
- light surface mould on top bars
- small patches on outer comb
- lightly affected super comb with no sour smell
- comb in a strong colony that is expanding and covering frames well
Better to remove or replace:
- heavy mould over large areas of comb
- mould inside cells
- mouldy pollen or sour stores
- dark, old, damp brood comb
- frames repeatedly affected despite good hive conditions
- comb from a deadout where the cause is uncertain
- any frame associated with suspicious brood symptoms
Do not salvage without expert advice:
- comb from a colony suspected of American foulbrood or European foulbrood
- comb with ropy larvae, scales, sunken cappings, or a strong foul smell
- equipment from a suspected notifiable disease case
Disposal and cleaning
For heavily mouldy comb, the simplest approach is to cut it out and dispose of it securely. Burning is effective where permitted and safe. Otherwise, bag the waste securely and dispose of it in line with local rules. Do not leave mouldy comb, honey, or wax exposed where it can attract bees, wasps, rodents, or other pests.
Wooden frames can sometimes be reused if the comb is removed and there is no disease concern. Scrape them clean and allow them to dry thoroughly. If appropriate, wooden hive parts can be scorched carefully with a blowtorch after wax and propolis are scraped away. Do not scorch plastic frames, poly equipment, or anything unsuitable for heat.
Avoid household disinfectants, bleach residues, scented cleaners, or chemical treatments on comb that will go back to bees. These can contaminate wax and honey or harm the colony.
Freezing is useful for killing wax moth eggs and larvae in stored comb, but it does not remove mould or reliably sterilise fungal spores. Treat freezing as pest control, not a cure for mould.
Preventing mould in hives
Mould prevention is mainly about matching hive conditions to colony strength and keeping moisture under control.
Improve moisture control without chilling the colony
Bees cope better with cold than with persistent damp, but strong draughts across the brood nest are harmful. Aim for controlled moisture release, not a windy hive.
Useful measures include:
- keeping roofs watertight
- using sound crownboards
- ensuring rain cannot run into entrances
- keeping open mesh floors clear if used
- providing adequate top insulation to reduce condensation above the cluster
- avoiding large empty spaces above small colonies
- using ventilation carefully where condensation is persistent
Some beekeepers use quilt boxes or absorbent natural material above the crownboard in winter. If you do this, make sure the material stays dry enough to function and cannot sag onto frames or block bee movement.
Match the hive space to the bees
A strong colony can look after more comb. A small colony cannot. Remove unnecessary supers, use dummy boards, and avoid leaving a small cluster in a full box of cold comb through damp weather.
This is especially important for nuclei, late splits, and colonies recovering from queen problems.
Improve hive siting
A damp apiary will make mould problems worse. Where possible:
- raise hives well off the ground
- keep stands level or very slightly tilted forward
- cut long grass around entrances
- choose a site with morning sun
- avoid cold hollows and permanently shaded corners
- protect hives from driving rain and persistent wind
- maintain enough spacing for airflow around equipment
Feed carefully
Poor feeding technique is a common cause of damp comb.
- Avoid thin syrup late in autumn.
- Do not overfeed more than the bees can process.
- Check feeders for leaks.
- Avoid spilling syrup into the hive.
- Use fondant appropriately in winter if stores are low.
- Remove unused or fermenting feed.
Rotate old brood comb
Old brood comb is darker, more absorbent, and more likely to harbour debris. It is also harder to inspect properly. Plan a steady comb replacement routine, such as replacing a few brood frames each season so that brood comb is not left indefinitely.
Comb rotation also improves inspection quality and helps reduce the build-up of residues and pathogens.
Store spare comb properly
Dry, ventilated storage is essential. Protect stored frames from wax moth, mice, and damp. Use sealed stacks only when the comb is dry and pest control has been considered. If comb has been frozen for wax moth control, allow it to dry and store it so that condensation does not build up again.
When to ask for help
Ask for advice if:
- you are unsure whether it is mould, chalkbrood, wax moth, or foulbrood
- the colony is weak, queenless, or failing
- mould is widespread across brood frames
- there is an unpleasant smell
- brood looks abnormal
- you are considering uniting colonies but are not confident
- mould keeps returning despite changes
Your local beekeeping association or mentor can often help from clear photographs. For suspected notifiable disease, contact your local Bee Inspector through BeeBase or the relevant bee health service for your part of the UK. Do not move or destroy suspect comb before receiving advice.
Record-keeping that helps prevent repeat problems
A mouldy frame is not just an isolated nuisance. It is evidence about colony condition, weather, equipment, and management. Good notes help you identify patterns before they become losses.
Record:
- hive ID
- inspection date and time
- weather and recent rainfall
- colony strength in frames of bees
- queen status
- brood pattern and brood stage
- stores level and type
- feed used recently
- exact frame numbers affected
- whether mould was on brood, stores, woodwork, crownboard, or roof
- photographs from several angles
- suspected cause
- frames removed, brushed, replaced, or destroyed
- ventilation or insulation changes
- roof, feeder, or stand repairs
- next inspection date
Bee Hive Tracker is useful here because photos, frame notes, follow-up reminders, and seasonal patterns can be kept under the same hive record. If the same hive or apiary develops mould every winter, your records will show whether the trigger is site dampness, roof leaks, overfeeding, weak colonies, or too much empty space.
Common scenarios and the best response
Mould on outer brood frames in early spring
This is usually caused by a small winter cluster not covering the full box. Check the queen, brood, stores, and colony strength. Remove badly affected frames, reduce unused space, and replace old comb gradually as the colony expands.
Mould on the crownboard
This points to condensation or a roof problem. Wipe away water, check the roof, improve insulation above the cluster, and make sure damp air is not trapped. Also check that the colony is strong enough for the space it occupies.
Mould in supers after extraction
The supers were probably stored damp or in poor airflow. Brush off very light surface mould if the comb is otherwise sound, but discard comb with mouldy or fermented stores. Store future supers dry, ventilated, and protected from pests.
Mould after autumn feeding
Look for spilled syrup, a leaking feeder, or syrup fed too late for the bees to process. Remove wet or spoiled comb, stop the source of damp, and use more suitable feed for the season.
Mould in a weak colony or nuc
The mould is a symptom of a bigger colony-strength problem. Check queen status, reduce space, remove unusable comb, and consider uniting if the colony is unlikely to recover.
Mould in a deadout
Close the hive to prevent robbing, inspect for signs of disease or starvation, and record what you find. If anything suggests foulbrood or another serious issue, contact the Bee Inspector before cleaning or reusing equipment.
Practical inspection checklist
When you find mouldy frames:
- Photograph the affected area and note frame numbers.
- Check colony strength, queen status, brood, stores, and smell.
- Look for leaks, condensation, wet feed, and unused hive space.
- Remove pooled water and replace damp insulation.
- Brush light surface mould only where the comb is otherwise sound.
- Remove and replace heavily moulded, sour, or old damp comb.
- Do not reuse comb if brood disease is suspected.
- Correct the cause: roof, feeder, ventilation, insulation, site, or colony size.
- Record actions and set a follow-up inspection in Bee Hive Tracker.
- Ask a mentor or Bee Inspector for help if brood symptoms or foul smells are present.
Final advice
Most mouldy frame problems are manageable once you identify the cause. A strong colony in a dry, sound hive will often clean light mould without difficulty. Heavy mould, mouldy stores, weak colonies, deadouts, and suspicious brood symptoms need more careful handling.
Treat mould as a warning sign: the hive is too damp, the colony is too small for the space, comb has been stored poorly, or there is an underlying colony problem. Deal with the affected frames, correct the conditions, and keep clear records so you can confirm the fix at the next inspection.
Sources Used
- https://secure.fera.defra.gov.uk/beebase/
- https://www.gov.uk/guidance/keeping-bees-and-controlling-diseases
- https://www.bbka.org.uk/